DIY Kitchen Remodel: Adding Cabinet Hardware
Is anyone still doing quarantine home renovations? Now that this endless spring break has dragged out for the better part of a year, I’m not seeing many people post about projects. We all started out strong but if you are anything like me, you’ve moved on to binge watching all the latest TV shows. It’s possible I’ve watched more TV this year than in my entire life combined.
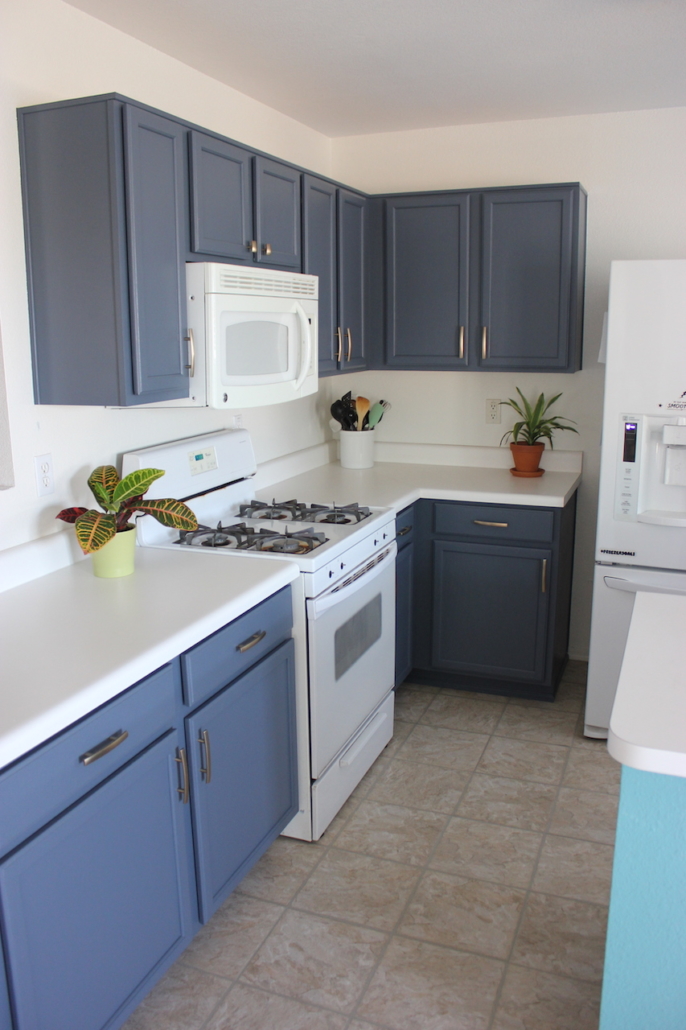
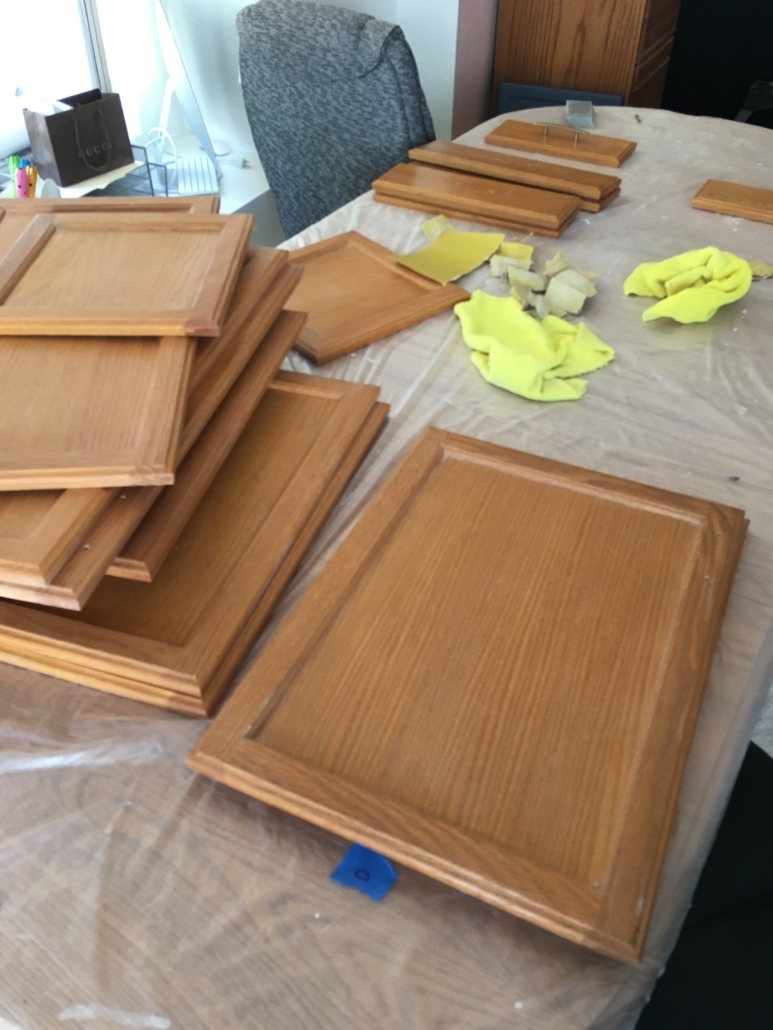
I don’t know that any home I’ve ever lived in has had hardware on the cabinet doors so I didn’t know what I was missing. If you don’t have hardware, should should add some. The two most important things we learned are that you should drill the holes before painting the cabinets and that you should drill the holes with the doors and drawers off. Why is that, you say? Let me explain in seven easy steps.
7 Steps to Adding Cabinet Hardware
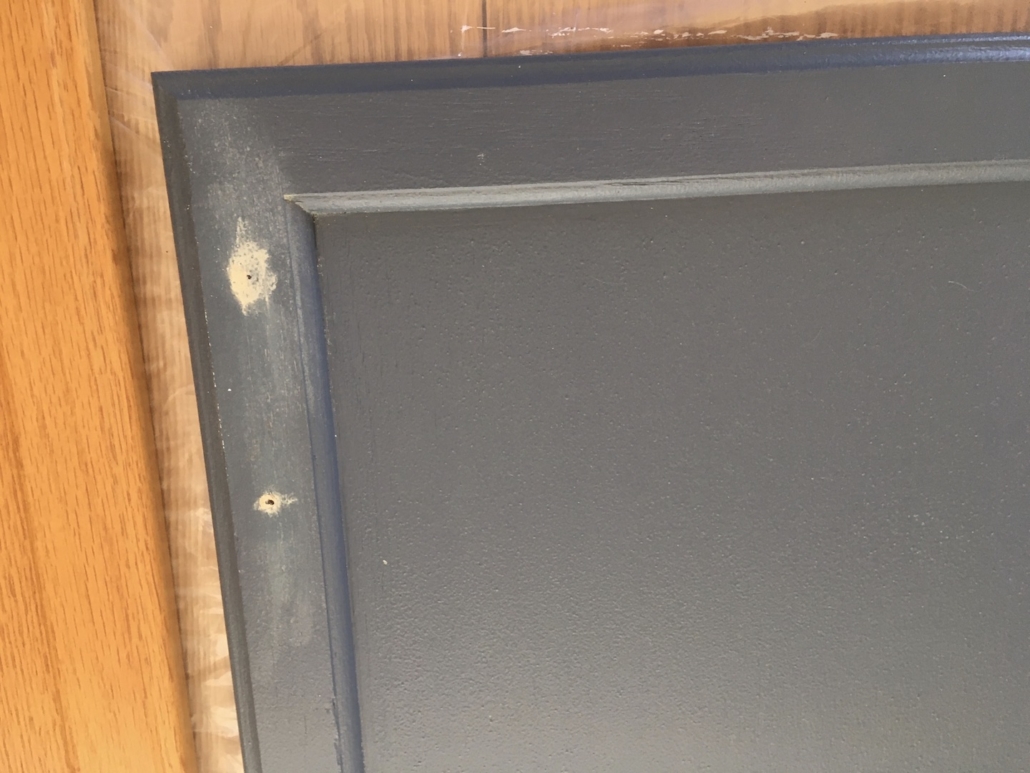
1. If you are adding hardware and painting your cabinet as part of the same project, drill the holes BEFORE you paint. I painted a few cabinets and then we drilled the holes for the hardware. If you work with wood/drill bits regularly this might not be a surprise, but getting the hole started pulled up some of the paint and wood and required touch ups and sanding in some cases.
2. Take off the doors and drawer faces. We started this project by drilling the holes with the doors on the cabinet box. While that sounds more efficient, we found it hard to drill a straight hole and had to redo a couple. Fortunately, we didn’t get too far into the project before realizing this was a bad idea.
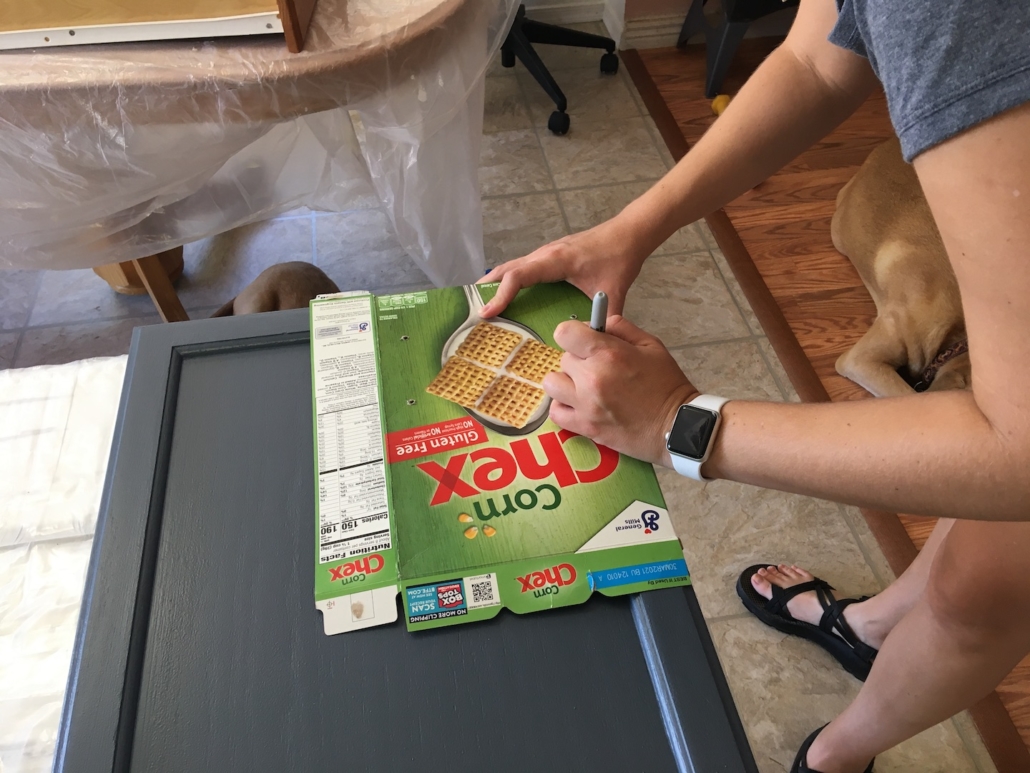
3. Purchase or make your own template for the hardware holes. I purchased a premade template for the cabinet doors and drawer fronts. It seemed like a great idea but I found that the cabinet template didn’t fit my doors. The drawer front one worked though. I ended up making a template out of a cereal box and it worked perfectly.
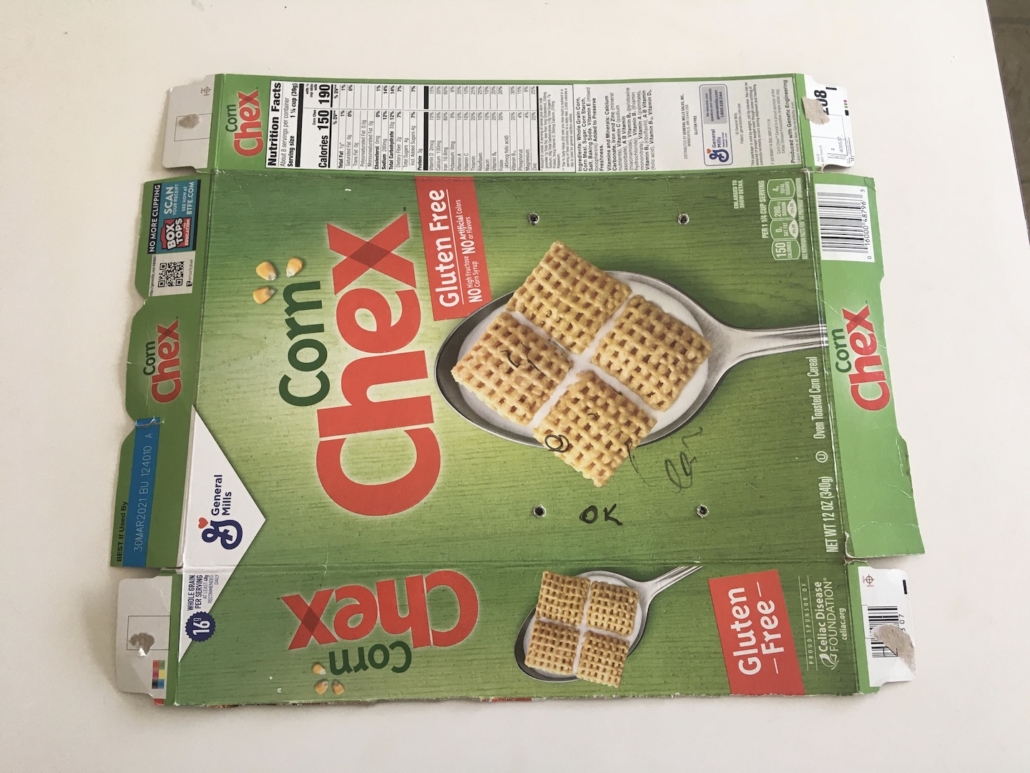
I used a ruler to measure the distances and transferred that onto the box corners. I used a pen to poke holes wide enough to use with a sharpie. If your cabinet doors face different directions be sure to make templates for all sides needed.
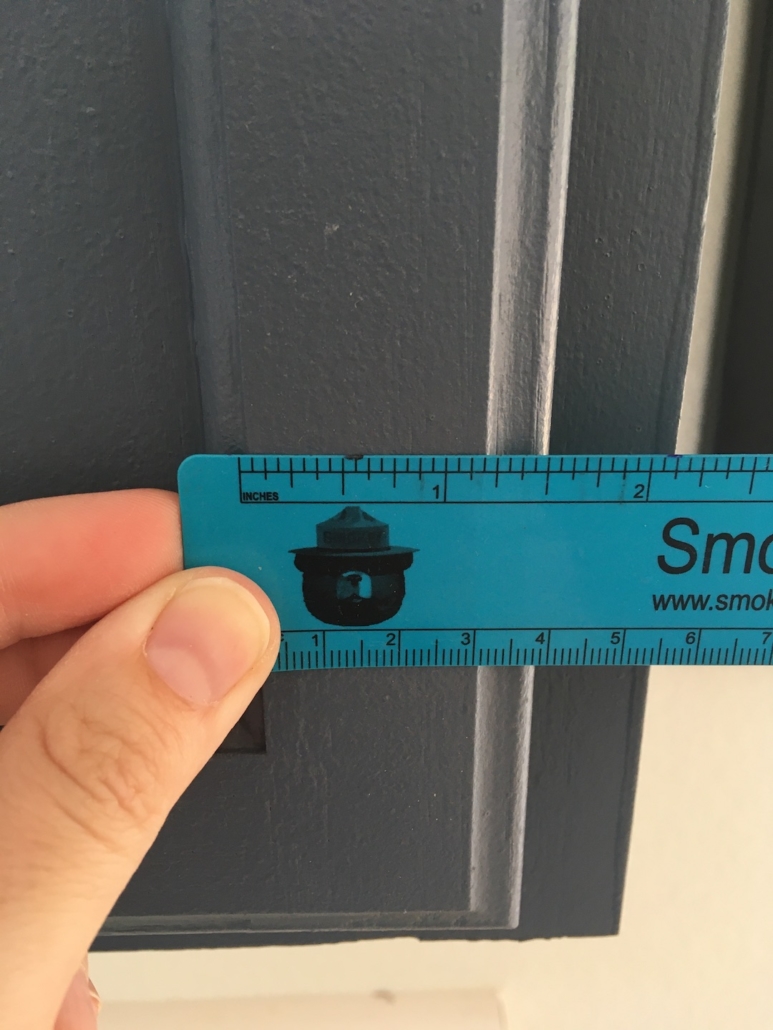
4. Add dots for where to drill. For the cabinet doors we used my cereal box template. I just lined it up over the corner and used a sharpie to notate where to drill the holes. The box flaps helped keep the template square in the corner so don’t cut them off.
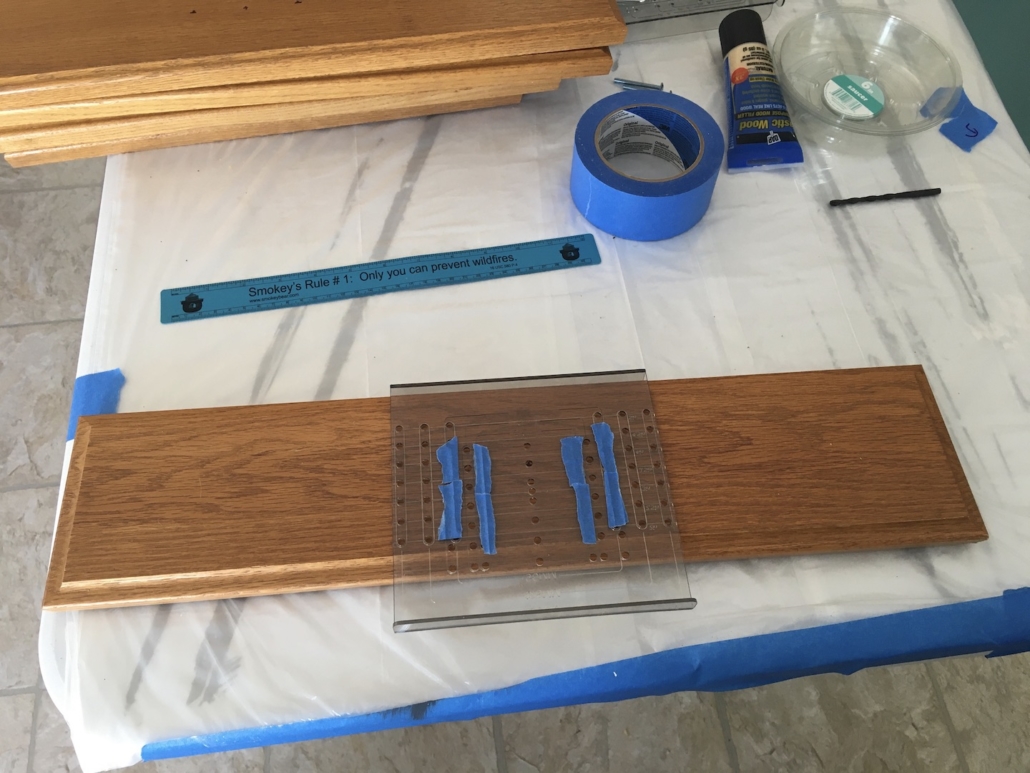
For the drawer faces we used the premade template we purchased. We purchased ours from our local hardware store but they also sell them online. I have no idea how to tell it if will work for your cabinets until you get it home and test it. If you happen to know please chime in in the comments.
We used painters tape to cover the holes we weren’t using to prevent marking the wrong hole.
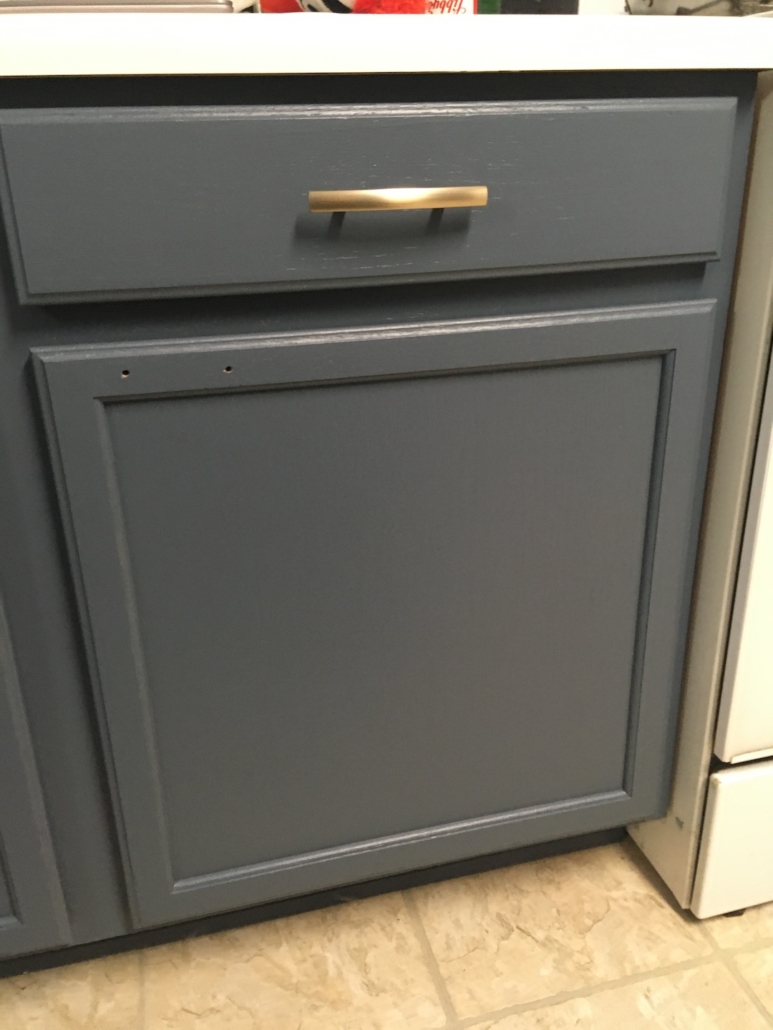
One piece of advise: Since you’ve taken all your cabinet doors off and probably have them in a pile now, visually line the door up with the cabinet it belongs to before placing the holes to make sure you have them in the correct location. I learned this the hard way as evidenced in the picture below.
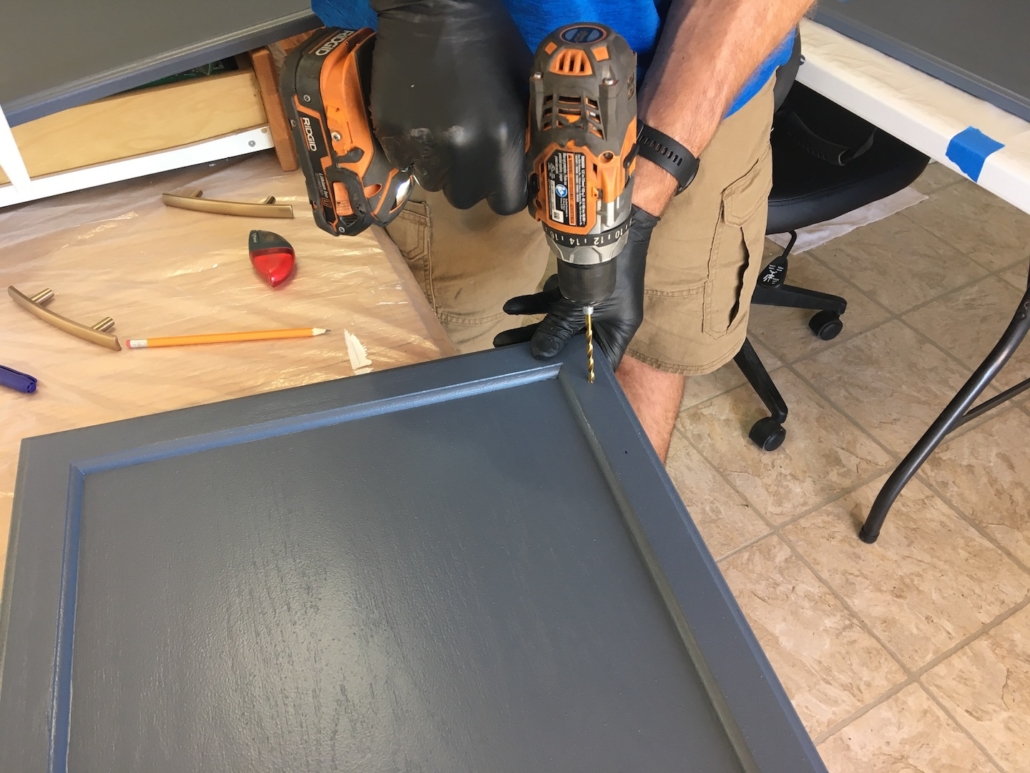
5. Drill holes. Once the dots are in place you can drill. My job was to add the dots; The Husband drilled. We found that if you drill standing up, so if the doors are on the cabinet, it’s hard to keep the drill bit straight. We were able to make much straighter holes drilling in this fashion. If the hole isn’t straight enough the hardware will not fit. We used a 3/16 drill bit.
6. Screw in the hardware. For the majority of our doors/drawers, we drilled all the holes before painting but we did test the hardware to make sure it fit properly. Once or twice we realized my holes were off and had to fill in the holes with wood putty, wait for it to dry, and then start over. It’s not the end of the world but it’s a tad annoying. If you aren’t painting, you are almost done!
7. Replace the doors and drawer fronts. This is the most exciting part of the project because it’s when everything starts to come together.
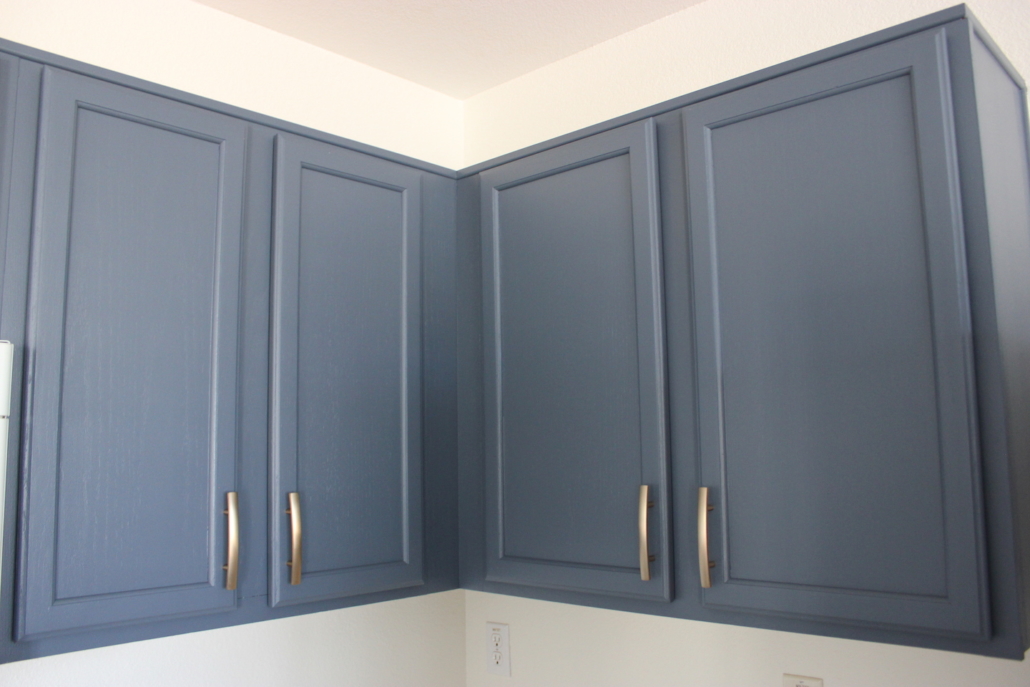
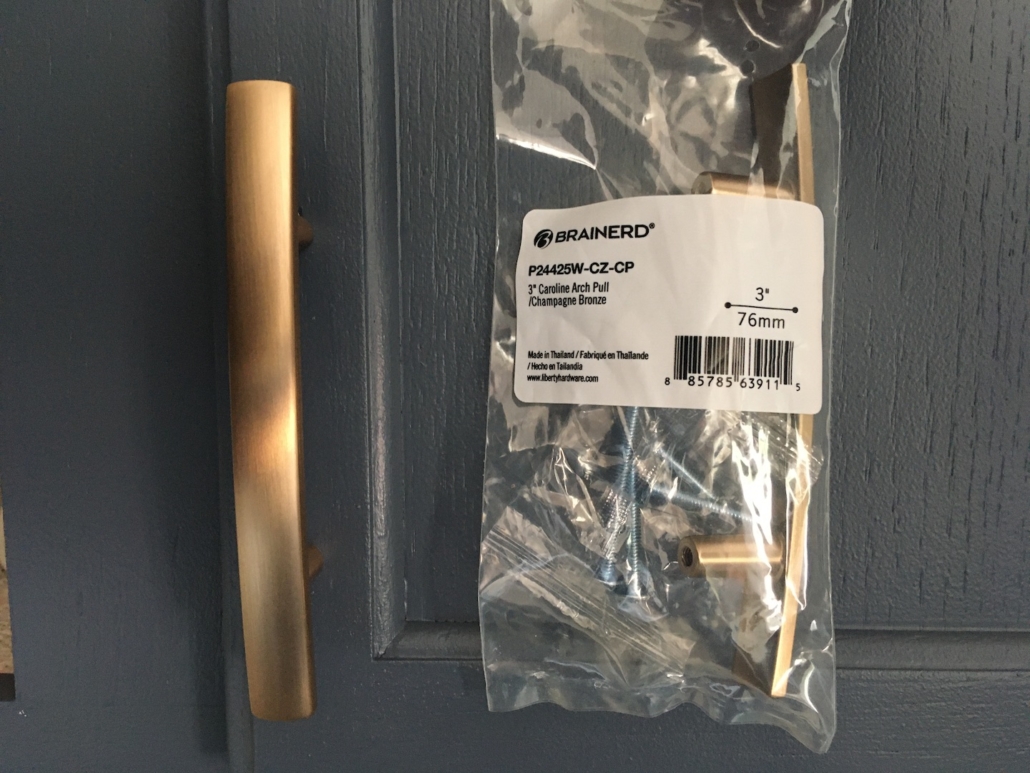
We opted for these Caroline Arch Pull handles in champagne bronze. They caught our eye on a display wall but when I saw the name I knew it was meant to be.
So that’s it! Pretty easy, huh?
Budget
The biggest expense with this project is the hardware. We already had a drill but we did have to buy a drill bit. Overall, we spent $185 for a drill bit, hardware, and the premade templates.
Handle pulls are more expensive than knobs so if you’re looking to save some dough you may consider all or some knobs. We were planning to do pulls on the bottom cabinets and knobs on the top but once we got them home we decided we liked the pulls better.

