DIY Kitchen Remodel: Removing Vinyl Sheet Flooring
By the title of the post I assume you figured out that we jumped on the quarantine kitchen remodel bandwagon. We are not DIYers. Actually, we’re not really home project people in general. Our kitchen has needed work for years but we’d rather spend our time and money camping, riding bikes, and exploring the country.
We had a vacation planned for the summer but decided to stay home instead. Partly because of the pandemic and partly because we got a quarantine puppy and realized leaving the pup with someone for 10 days wasn’t a good idea. (Puppies are a lot of work!) We had a week off work, money we weren’t spending on vacation, and a kitchen that needed a face lift. As all good projects, it started with painting the walls and morphed into new flooring; new baseboards; painting the ceiling, walls, and cabinets; and adding hardware to the cabinets. We thought the project would take a week but it took four. Rookie mistake. We were also planning to add a tile backsplash and lights under the counters but we need a break. Not sure if we’ll ever get to those.

Our kitchen and pantry had 20 year old vinyl sheet flooring that was a mess. Over the years it ripped and we covered the holes with duct tape. Classy, I know. We finally decided to bite the bullet and install new flooring. We wanted tile but didn’t want to spend that much so we opted for luxury vinyl flooring. It is a floating floor and comes in planks that glue together. We opted for this option because it was something we could do ourselves and we didn’t need to purchase extra tools. (We have since learned that you can rent tools from Home Depot.)
We have no idea what we are doing and definitely did some things wrong. If you are here because you are wanting to learn how to remove old vinyl flooring, proceed at your own risk. 🙂
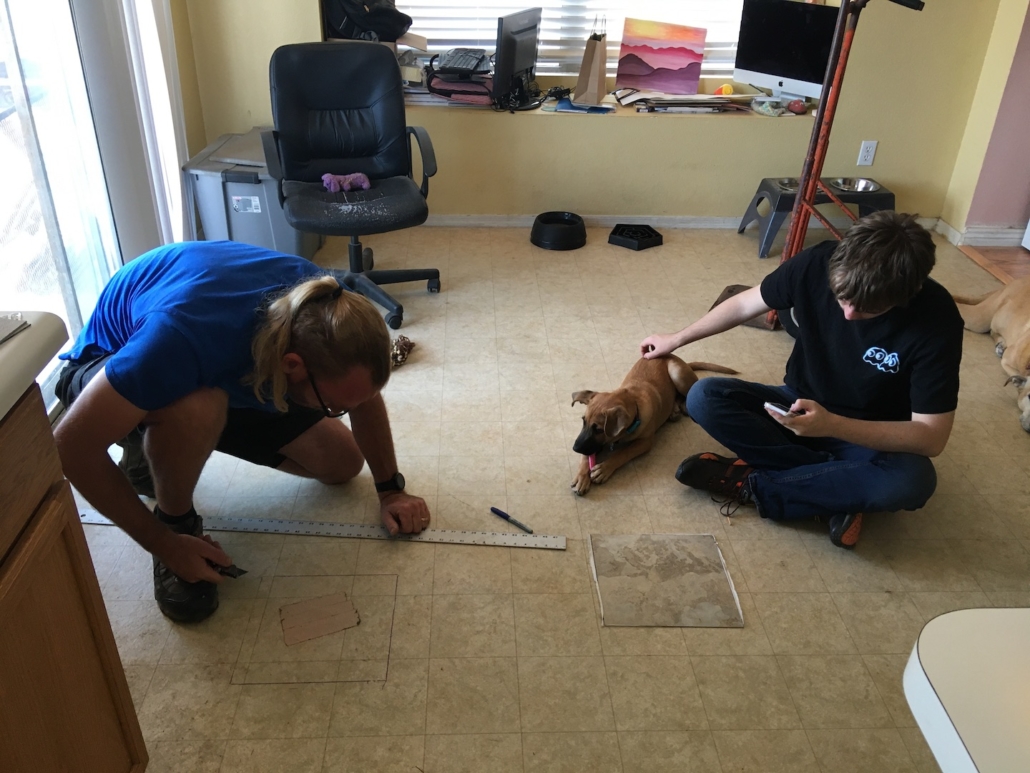
First step in the project was to fix the existing flooring. Because the new floor is floating it can be installed over existing vinyl. The only problem is that we needed to fix the holes to create a flat surface. Our original plan was to cut out the holes and install a new square. As such, we purchased a box of vinyl floor tiles. Turns out, vinyl sheet flooring is paper thin (or it’s worn down over the last 20 years) and the vinyl tiles were much thicker. This discovery happened around hour one and we quickly realized we were already in over our head.
At this point we decided we were going to pull up all of the old vinyl rather than patch the holes. (If you’ve done this you know already know it’s a nightmare.) We watched some videos and of course it looked so easy. I’m pretty sure those people had just laid the flooring they pulled up.
We couldn’t get the vinyl and glue to come up together. The top layer of the vinyl came off easily but the glue stuck to the concrete. In the end, we decided that pulling up the entire floor was going to take too long and neither of us have that much patience. Also, something was causing me to break out in a rash every time we started scraping the glue. Now that I think about it, I have an adhesive allergy so that makes sense. I’m definitely glad we didn’t finish the project.
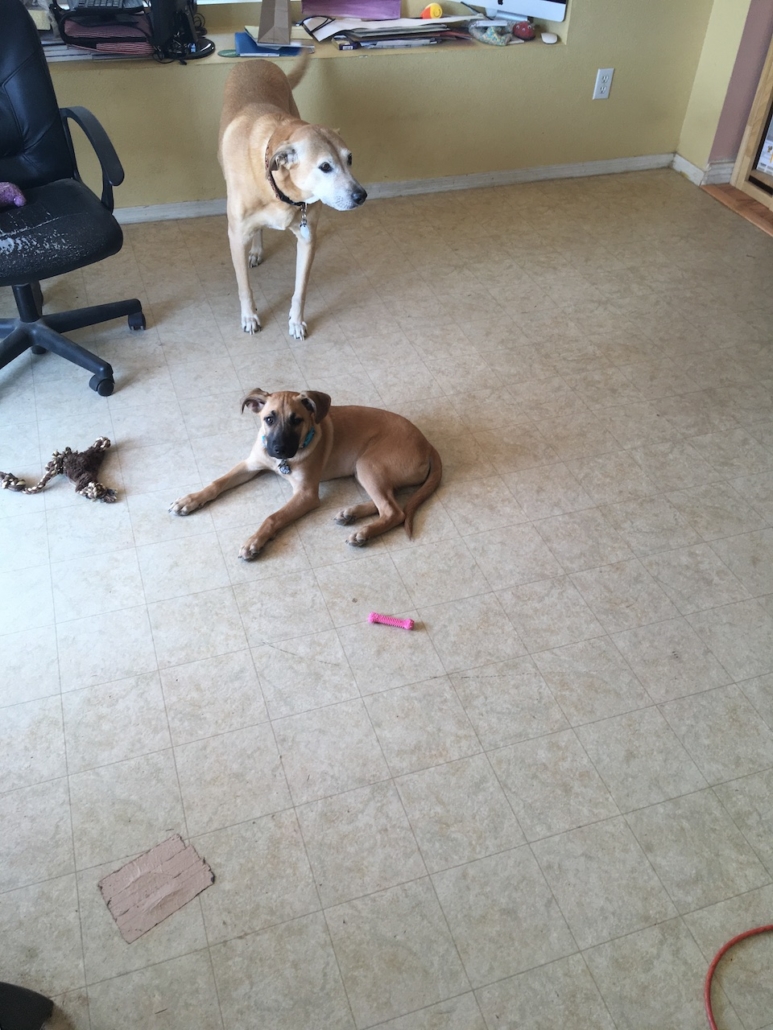
Since we started pulling up the old flooring we had to finish that section. We left the bare concrete in the large section (I’m pretty sure we weren’t supposed to do that but don’t really care) and there is a small lip where the old flooring remains. We continued with our original plan and patched the holes with the vinyl tiles. There is more of a height different between the new tile and old tile than there is between the old tile and concrete. Our overall hope was that neither would be noticeable once the new flooring was down.
We did learn a few things along the way so if you are planning to pull up vinyl tiles or vinyl sheet flooring this is what we learned.
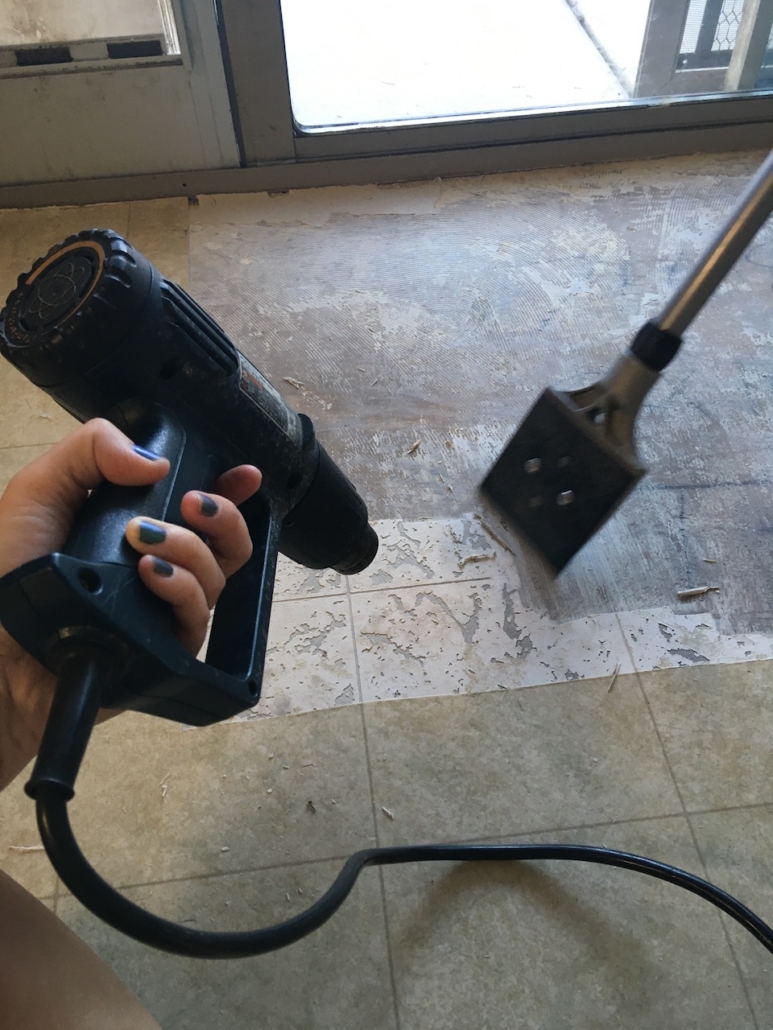
A heat gun and heavy duty floor scraper is your best bet. This was also confirmed by the nice salesman at Ace Hardware. He also suggested I get a bottle of wine for the task, so it’s clear he’s done this before. Some sections are harder than others to remove. We tried no heat, lots of heat, and found that gently warming the tile and scraping worked best. WARNING: DO NOT TURN THE HEAT GUN UP TO HIGH. I tried that thinking it would expedite the process. Nope. It only starts fires.
We didn’t actually get to the fire stage but on several occasions we did get smoking glue. Think of the heat gun as a hair dryer – if you hold it in one place too long it burns. Gently waive it around to heat up the glue and then use a floor scraper. Trust me – you want an actual floor scraper. We started using a hand scraper and it was taking forever. The process got better after we purchased this scraper. Having two people was also helpful. I was heating the floor while The Husband was scraping.
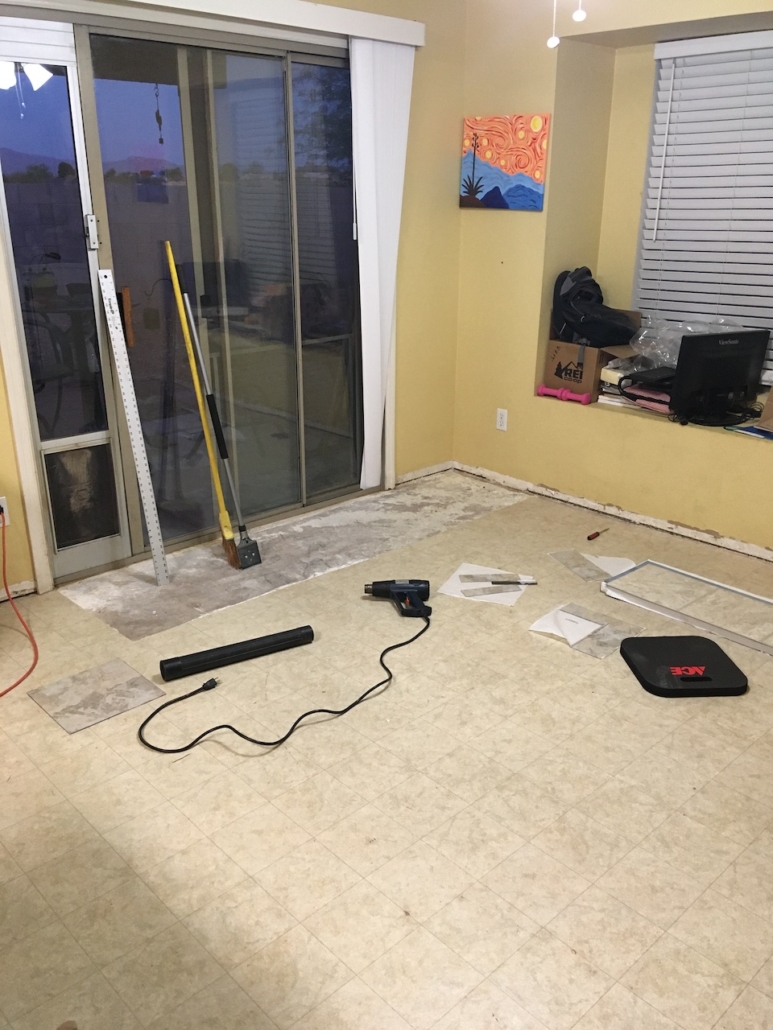
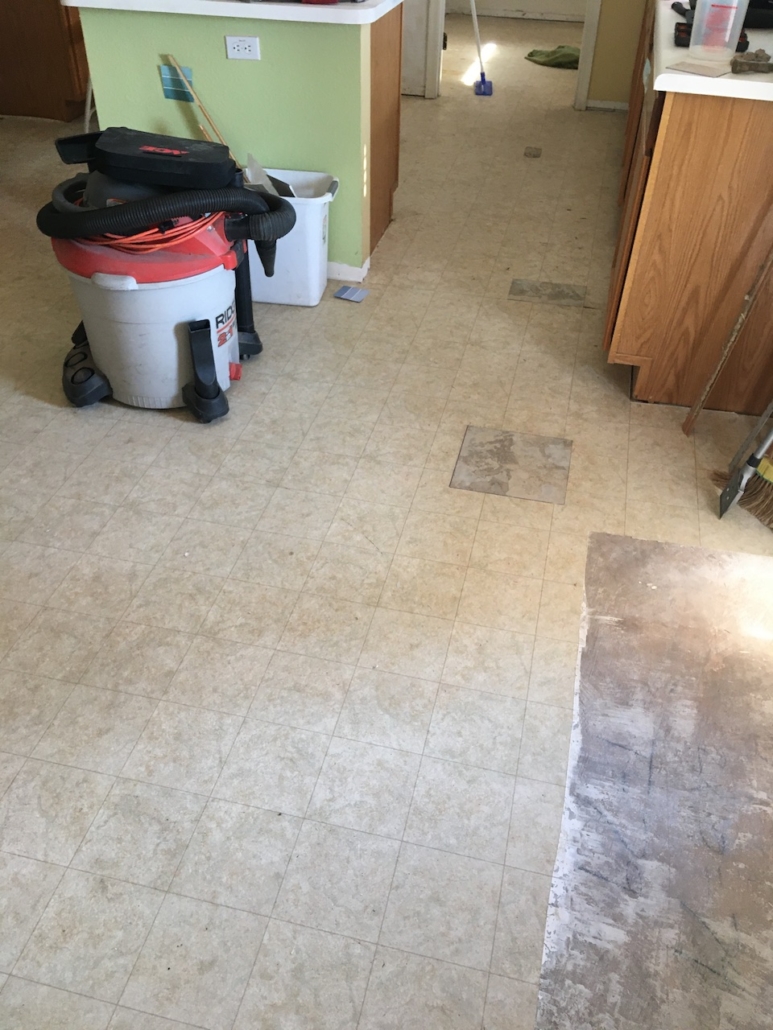
We ended up spending the entire first day prepping the floor for the new flooring. Most of the day was spent trying to get the glue off the concrete in that little section in the picture above. Once we figured out the right tools and method it went faster. There were also a few trips to Ace and several moments questioning what on earth we had gotten ourselves into.
Our must have products for this portion of the project were:
- Heavy Duty Floor Scraper
- Heat Gun
- Shop Vacuum
- Kneeling Pad
Have you tried to remove vinyl tile? How was your experience compared to mine? Had we decided to finish the floor I’m sure the rest would have gone faster. There’s definitely a learning curve. If you’re getting ready to tackle this project and have questions feel free to reach out.


Oh, I love your sense of humor….this post was fabulous!!! We are the same way with house projects. We actually consider hanging a picture on a wall, a house project. I don’t think we could ever do a floor! So…is the project still in progress? No “after” picture yet? And, I LOVE the painting on the wall in the last photo!!! Who is it by?
I’m glad to hear we’re not the only ones that don’t love house projects because I often feel like we are. The project is complete! I have one final post about repainting cabinets and that should go up this week. I actually painted the picture in the last photo! 🙂 It’s one of those painting class paintings from Creative Juice and the tutorial is on their Facebook page. We took up painting in early quarantine and have about a dozen random canvas paintings around our house that I’m not quite sure what to do with. I guess painting is my quarantine theme. Hope you’re doing well!