DIY Kitchen Remodel: Installing Luxury Vinyl Tile
Installing New Flooring
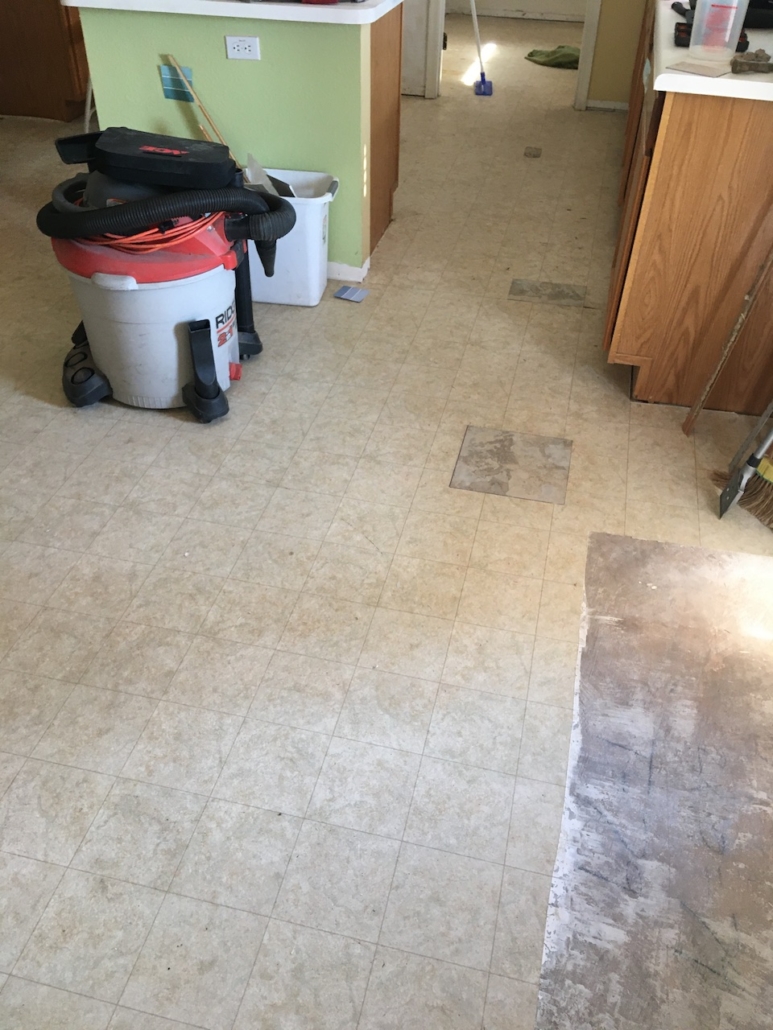
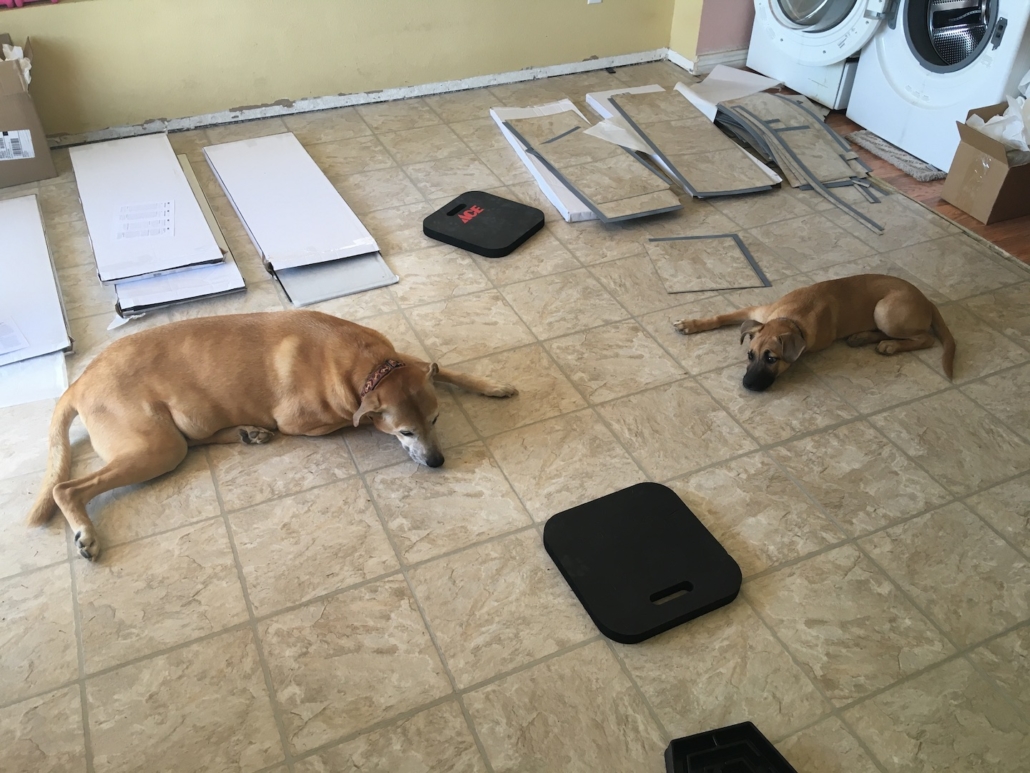
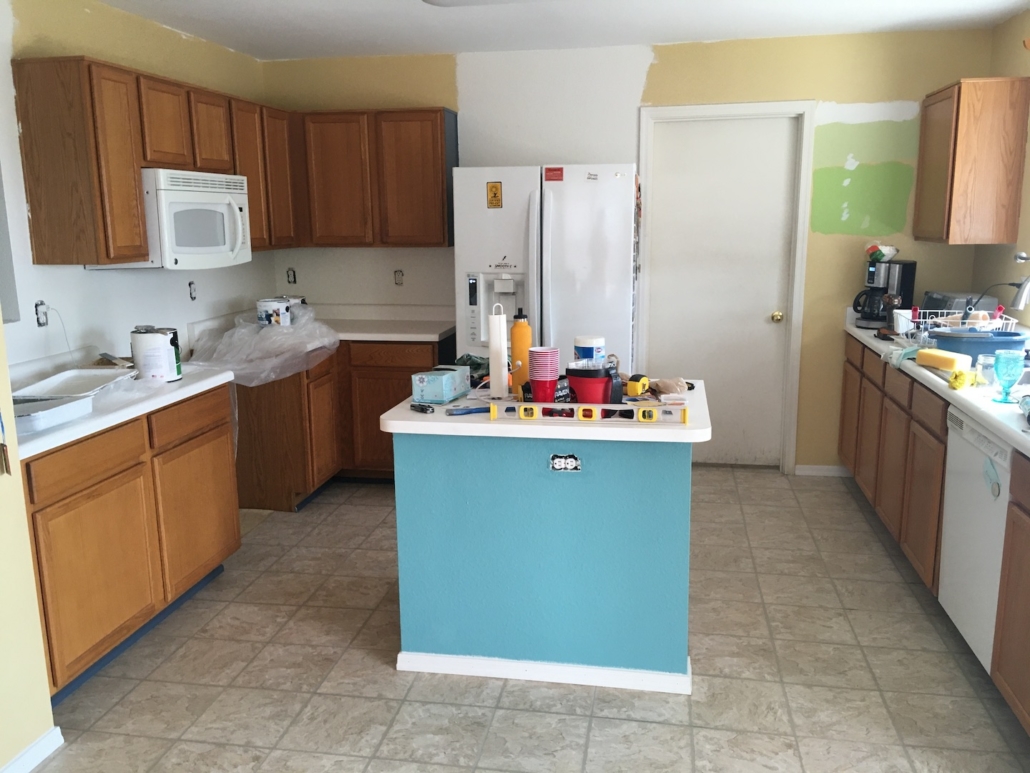
Before we could lay the new tile we had to fix the under floor. If you haven’t read that post it can be found here. We have wood flooring in the rest of our house and wanted to keep a tile look in the kitchen. Having tile installed was out of the budget and attempting it ourselves seemed like a really bad idea. We started by looking at peel and stick vinyl floor tiles but couldn’t find a pattern that we agreed on. We ended up coming across vinyl plank flooring and found a pattern we both really liked. It was more expense than everything we were looking at, but still much cheaper than real tile.
We went with the TrafficMASTER Luxury Vinyl Tile in Sedona. Online the color looks more yellow than it does in real life. Supposedly this style is being discontinued so we couldn’t buy it in the store but were able to order it online and have it shipped to the store for free.
The style that we chose comes in planks with three tiles per plank. It’s a floating floor so if we decide to redo the floor later down the road it should be easy to pull up. The planks have sticky on the edges and that’s how they stick together.
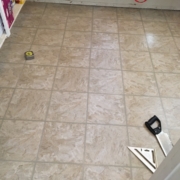
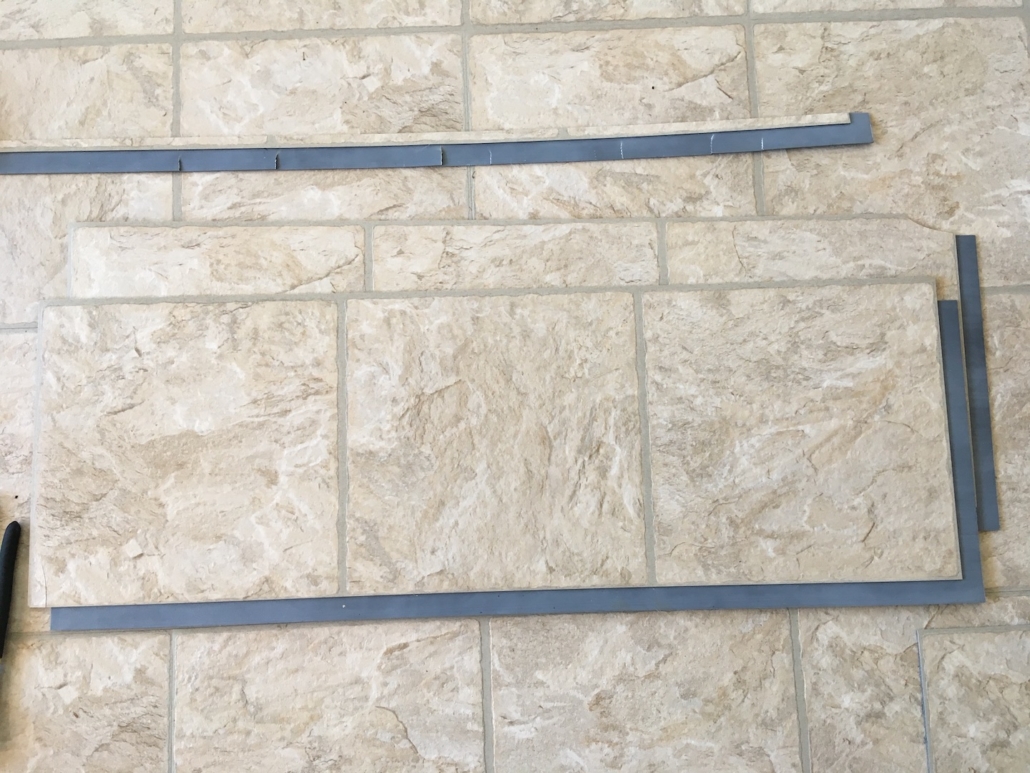
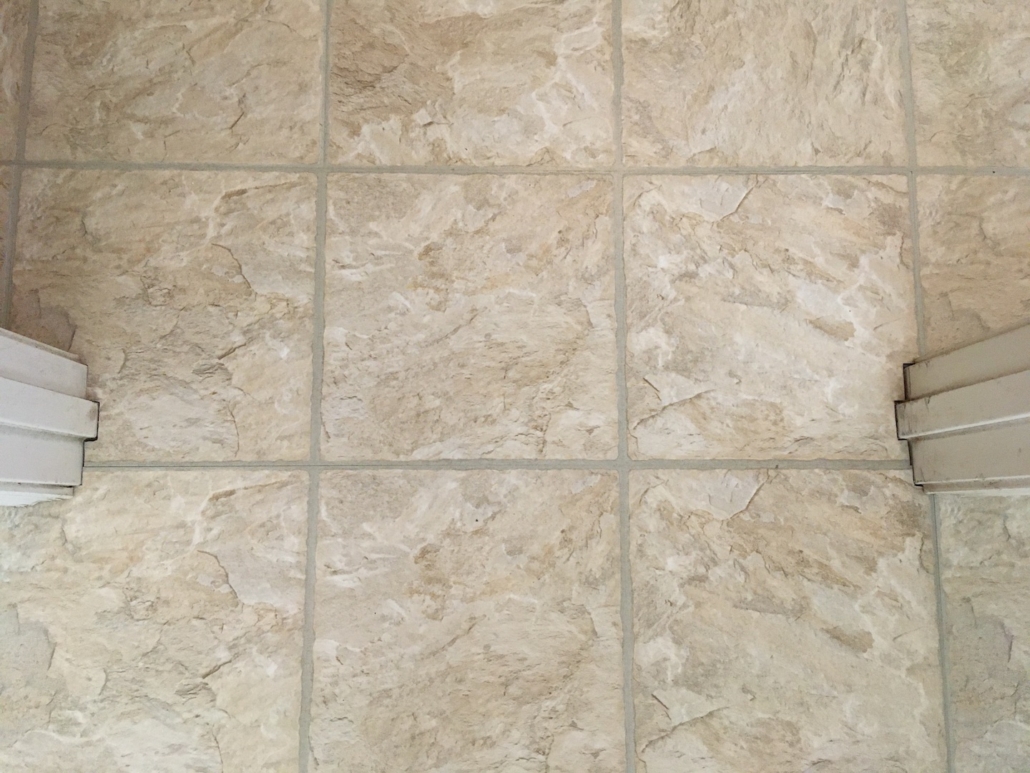
Overall, we are happy with the way the floor turned out. It looks great and has brightened the kitchen. Working with the sticky was a bit challenging at times and there are a few sections that didn’t glue together properly leaving some noticeable gaps. The picture below is the worst section. The majority of the connections are fine.
We wanted to buy grout to fill in the gaps (we have no idea if we should do this so don’t follow our lead) but haven’t been able to find a color that matches. The downside to the quarantine kitchen remodel bandwagon is that so many items are out of stock everywhere. And if we’re being honest, our old floor had duct tape on it so a few small gaps really aren’t a big deal.
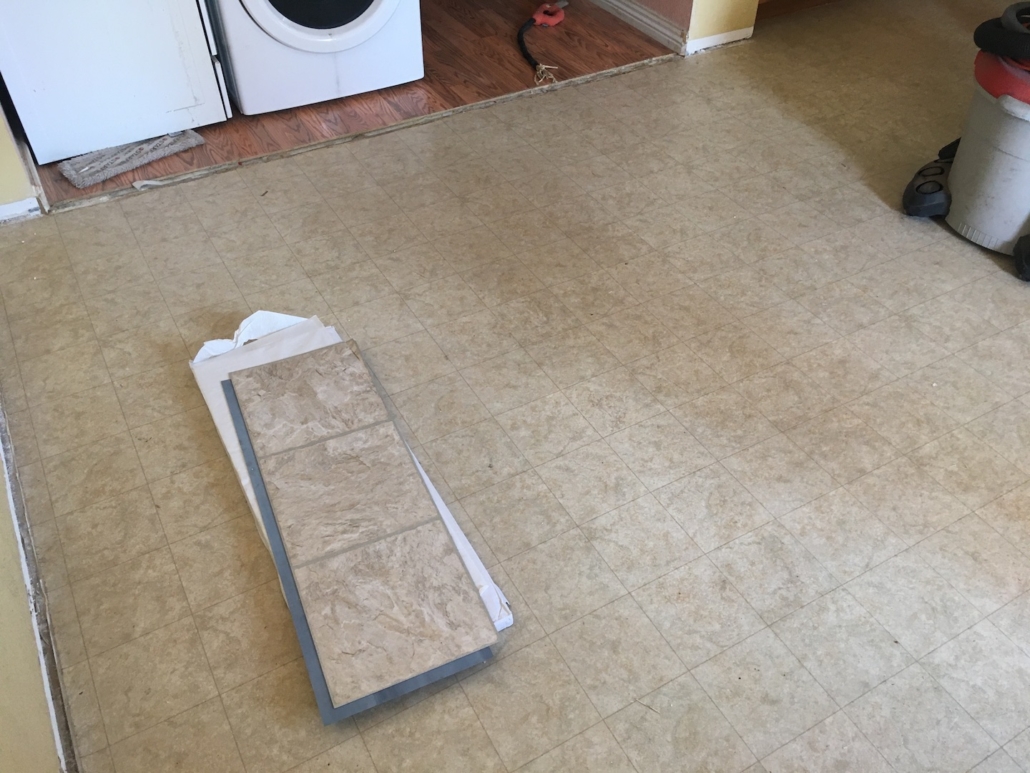
Our biggest frustration with the tile is that of the 13 boxes we ordered, the tiles in 4 boxes all came with broken corners. Of course we didn’t know that until we actually started laying the floor because we had left the flooring in the boxes. You can see in the picture below what the broken tiles looked like. We ended up using these pieces for the edge cuts. We finished the project with four tile strips left. Two broken and two not broken. That is way too close for comfort but I’m glad it worked out. Because of the sticky the pieces can only be installed in one direction which means you end up with a lot of waste. I would highly recommend purchasing the extra 10% recommended.
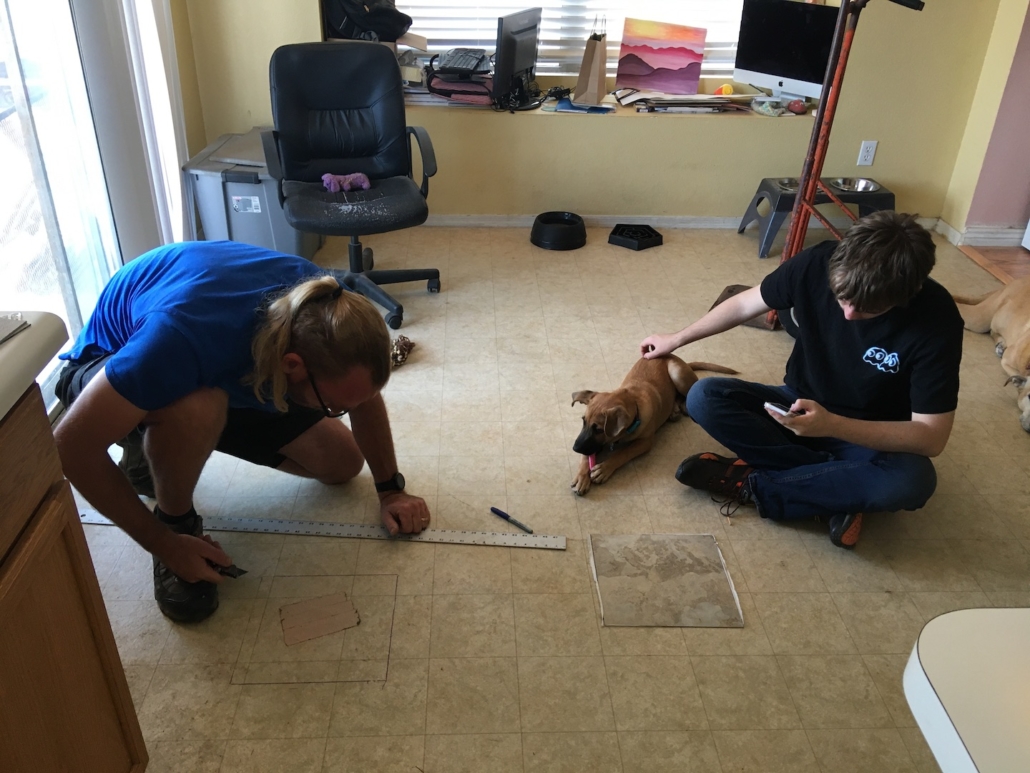
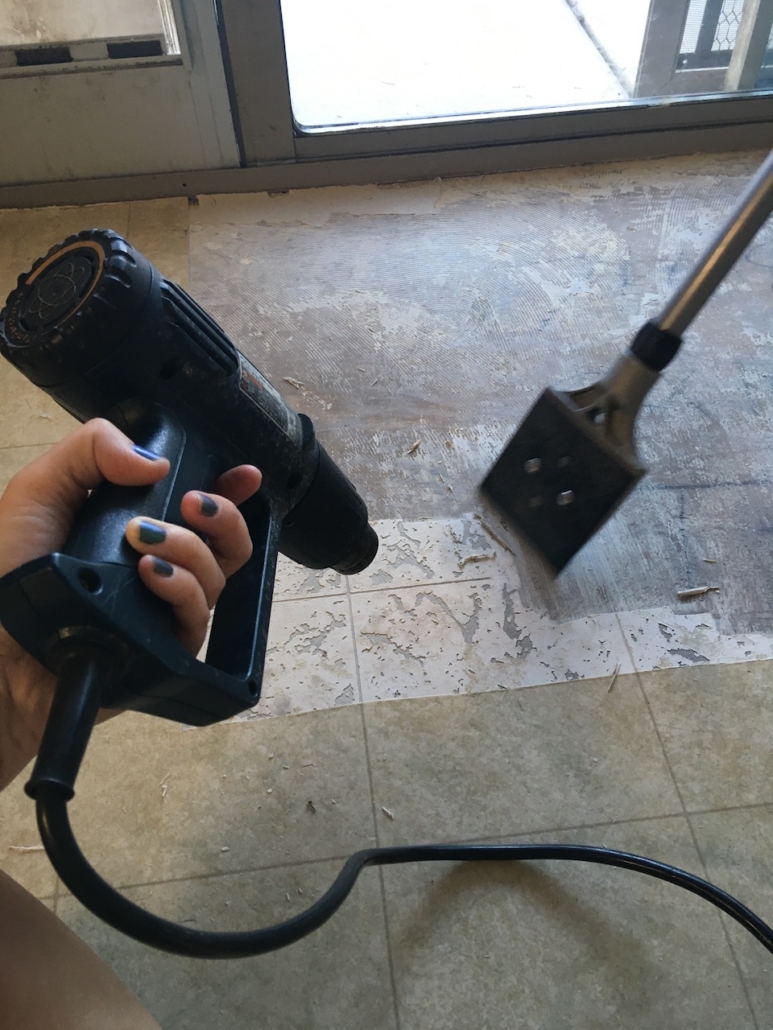
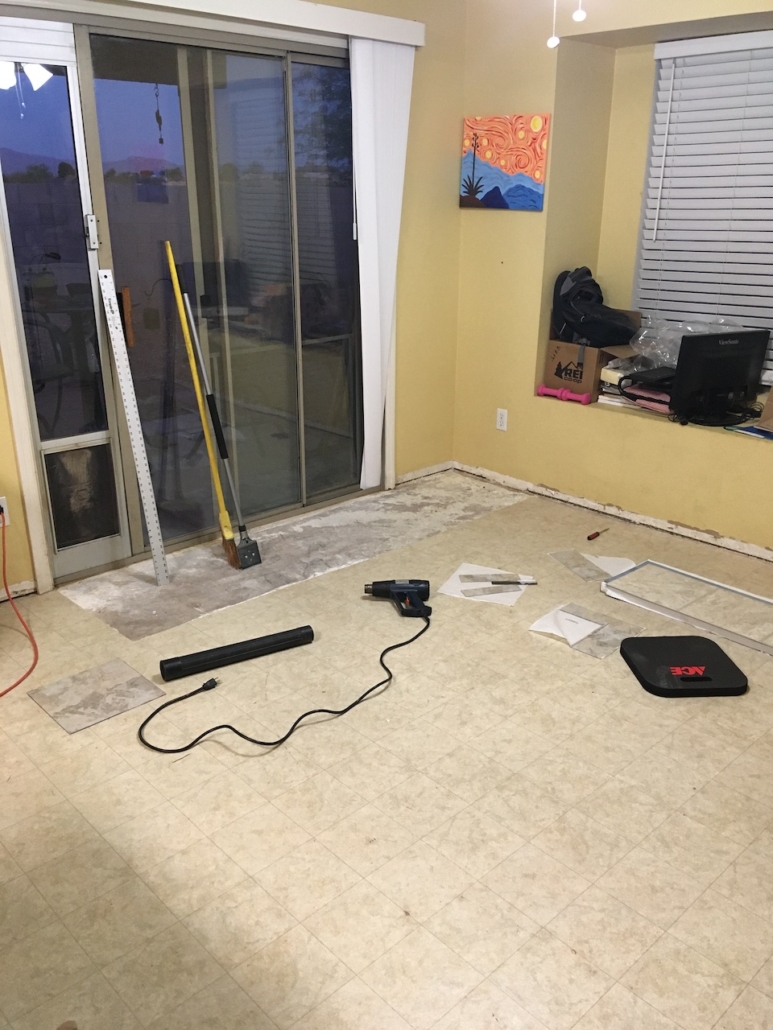
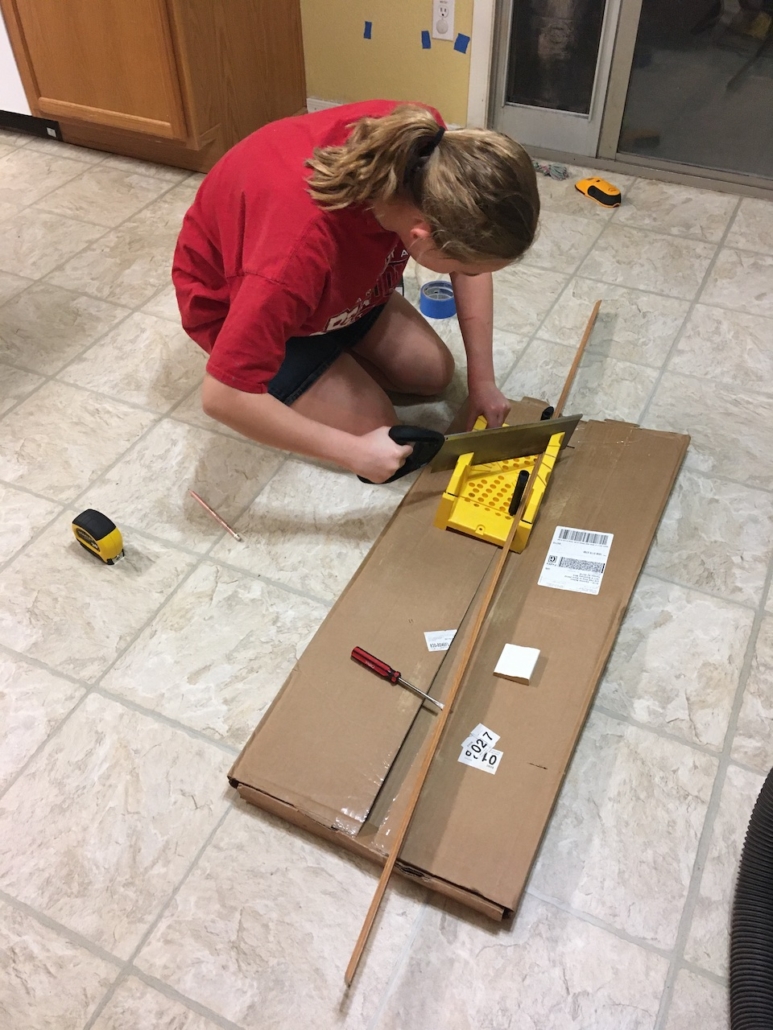
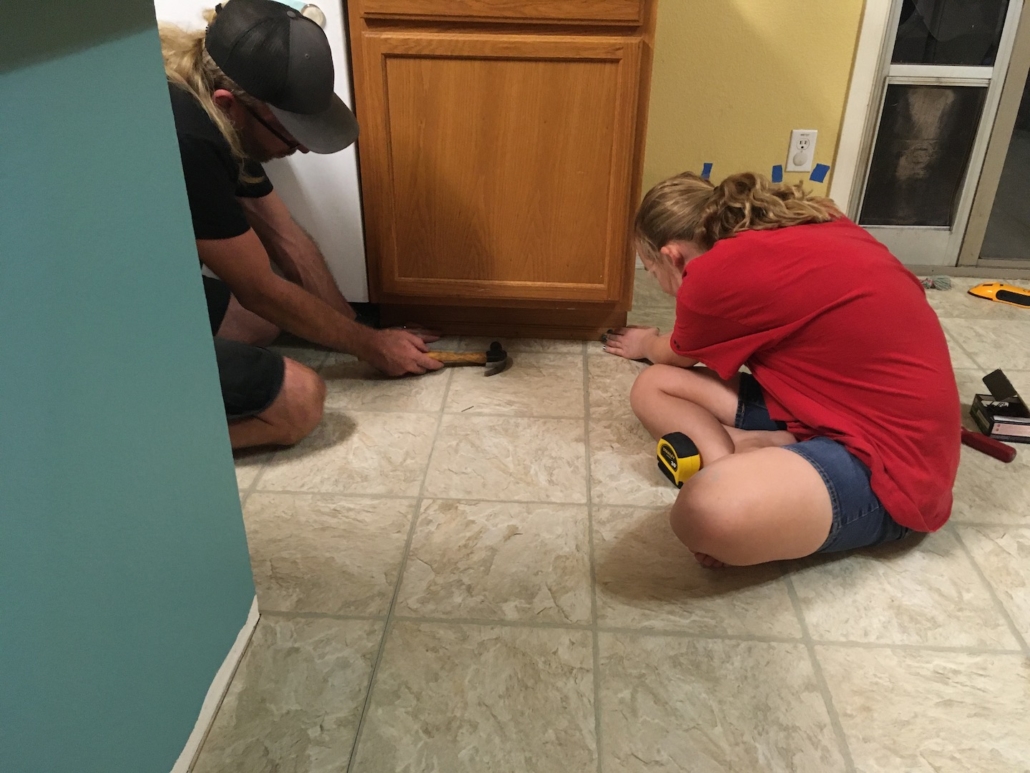
The hardest part of the install was cutting the tiles for the pantry doorway. Cutting the tiles in general was super easy and one of the main reasons we liked this tile. All you need is a box cutter to score the tile. Then you bend and it breaks apart. We used a T square to keep our lines straight. For the door frame, we started by creating a paper template of the doorway. The tile cuts weren’t coming out right so we just kept measuring and recutting. We went through quite a few pieces of tile but in the end got it right. And when I say we I mean The Husband. This was all him and he did a great job!
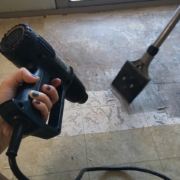
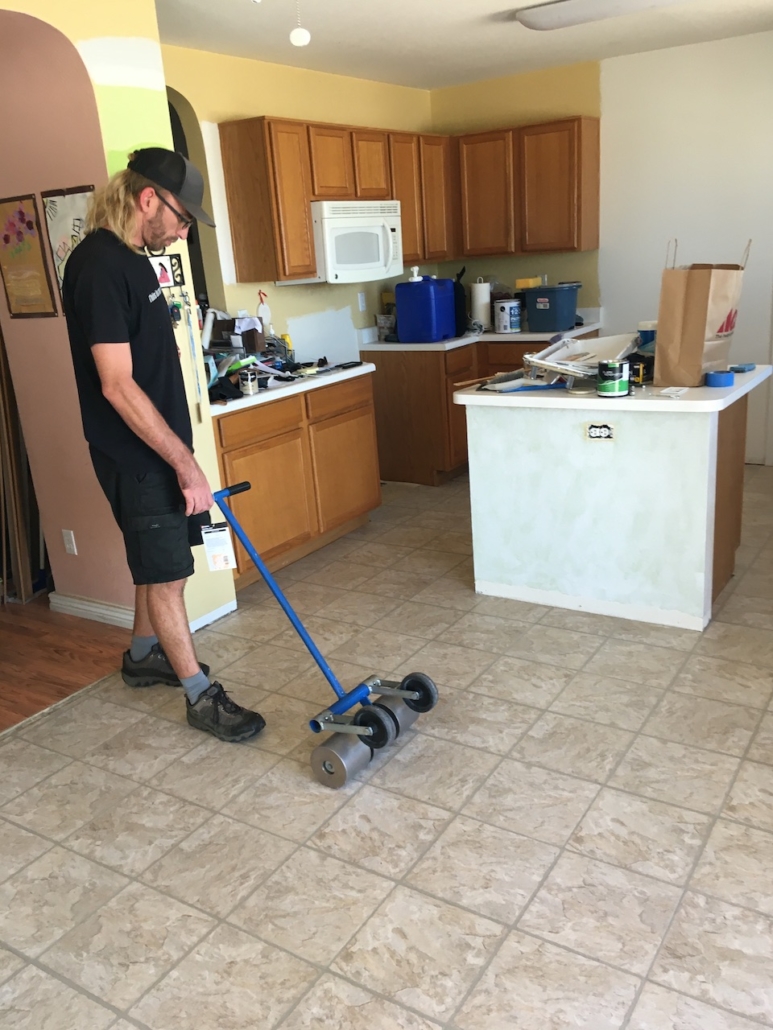
When laying flooring with glue you are supposed to roll over it with something heavy to set the glue. We didn’t know this when we started and were really grateful to learn that Home Depot rents tools and had a tile roller in stock. There were a few sections where the edges kept popping back up so we left the roller sitting on top of them for a while. There is still one corner that keeps popping back up but the rest of the floor is fine. Don’t let the size of the roller fool you. It’s heavy!
Installing New Baseboards
We weren’t planning on redoing the baseboards, but with all good projects, things change as you go. Our baseboards were 20 years old and in bad shape. A friend convinced me that baseboards are really easy so we went for it. I am so glad we did because they look great.
If you’re removing baseboards I would suggest scoring the top where the baseboard connects with the wall with a box cutter to break the bond. We didn’t do this at first and ripped off paint and dry wall in a couple cases. The paint was an easy fix but we had to buy some spackle to fix the dry wall.
We used a miter box to cut the baseboards.
Before we removed the baseboards, we made note using painters tape where the nails were so we would know where to nail the new ones. We then read that the nails are supposed to go into a stud so we used a stud finder and updated our tape markings. We started by nailing them into the stud area but later realized that the nail goes into the wall board and not the stud so we’re not sure if it really matters. In the end we stopped caring.
When we got to the cabinet baseboards, the nails would not go in. Like at all. I’m not sure what it is about the cabinets versus the wall but a normal hammer wasn’t cutting it. We ended up renting a nail gun from Home Depot and that solved the problem. Too bad we didn’t get the nail gun to start! The only issue with the rental nail gun is that it didn’t come with nails. We paid $50 to rent the gun and then spent $25 on a box of 1,000 nails (the smallest quantity sold in store) which we only used 30 of. If you need nail gun nails holler and I’ll send some your way.
The other surprise with the flooring is that we had to replace the threshold molding between our living room and kitchen. We should have known better but it was not in my original plan. Our wood floors are old so we had a hard time finding a color that matched the flooring. We found one that works but it’s just another unexpected expense. (We used weights to hold it down while the glue dried. DIY all the way.)

Knowing that painting the cabinets was next on the docket, we painted the cabinet baseboards before installing them. It made painting the cabinets so much easier! Painting the underneath was the worst part so not having to worry about the bottom edge was life saver.
Once the flooring was in and the baseboards installed, we used caulking to seal the edges. White caulking for the baseboard wall connection and clear caulking for the baseboard floor connection.
Budget
We spent $800 on the tile to fix the old flooring the the new tile. That was all we budgeted for. Naively we thought that’s all we would need. We ended up spending an extra $500 on unexpected items. Tool rentals, 970 nail gun nails we don’t need, floor scraper, heat gun, baseboards, over-reducer, caulking, ect. Had we expected these expenses ahead of time we could have borrowed tools from friends and shopped around for what we needed. Because we had a limited amount of time for this remodel (we were off work for a week) and our appliances were already in our living room, we opted for blowing the budget to save time.
So that’s it for the floor. Next up is painting the walls and cabinets! If you have questions about this type of flooring let me know.