DIY Kitchen Remodel: Painting Cabinets
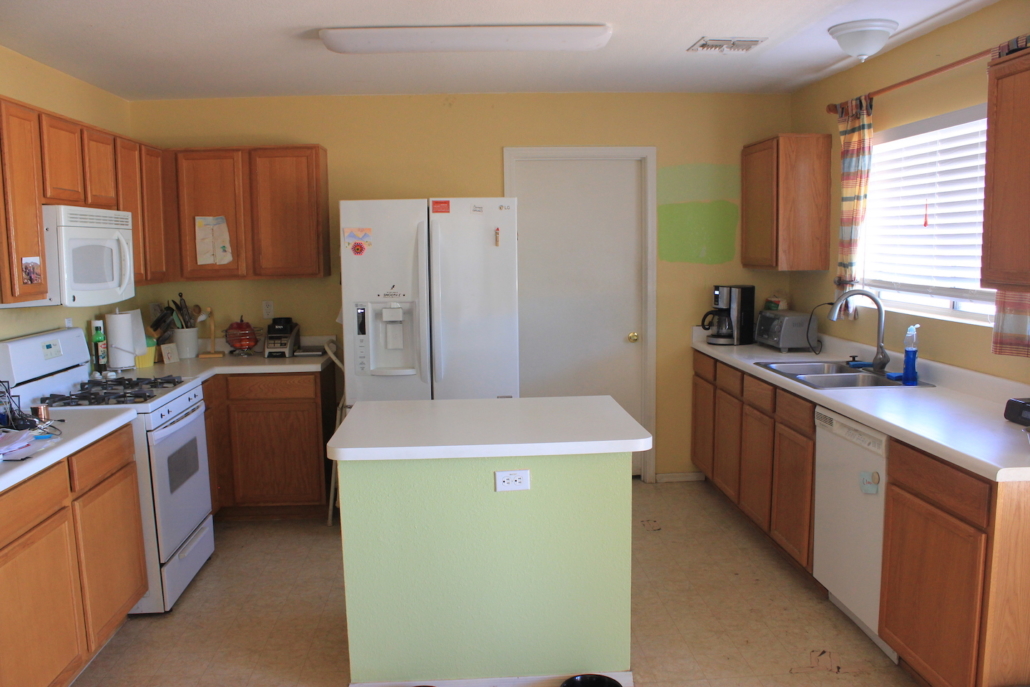
I never had an issue with our oak cabinets until a friend invited me to a kitchen remodel Facebook group. I was wanting to paint our kitchen green and was having trouble finding the color I wanted. So that’s where this entire project started. Trying to find the perfect shade of green paint for the walls. After seeing tons of before and after pictures of painted cabinets, particularly of circa 2000 oak, I was sold. At that moment the project transformed from green paint to an entire kitchen remodel.
The first big decision was deciding whether to use normal paint on the cabinets or chalk paint. Chalk paint seems to be all the rage and the claim is that you don’t need to sand or primer your cabinets. While that sounds nice, I decided to go with normal paint. Having never used chalk paint, I was worried about using it on such a big project right out of the gate. I am going to use it in my bathroom so I’ll report back later which I prefer.
5 Steps to Painting Cabinets
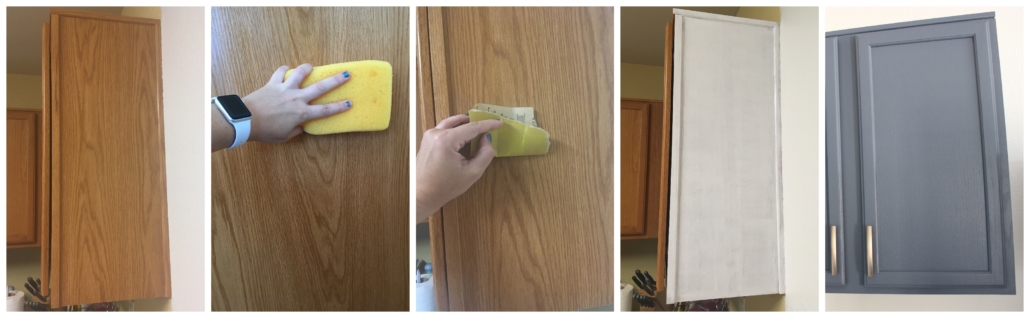
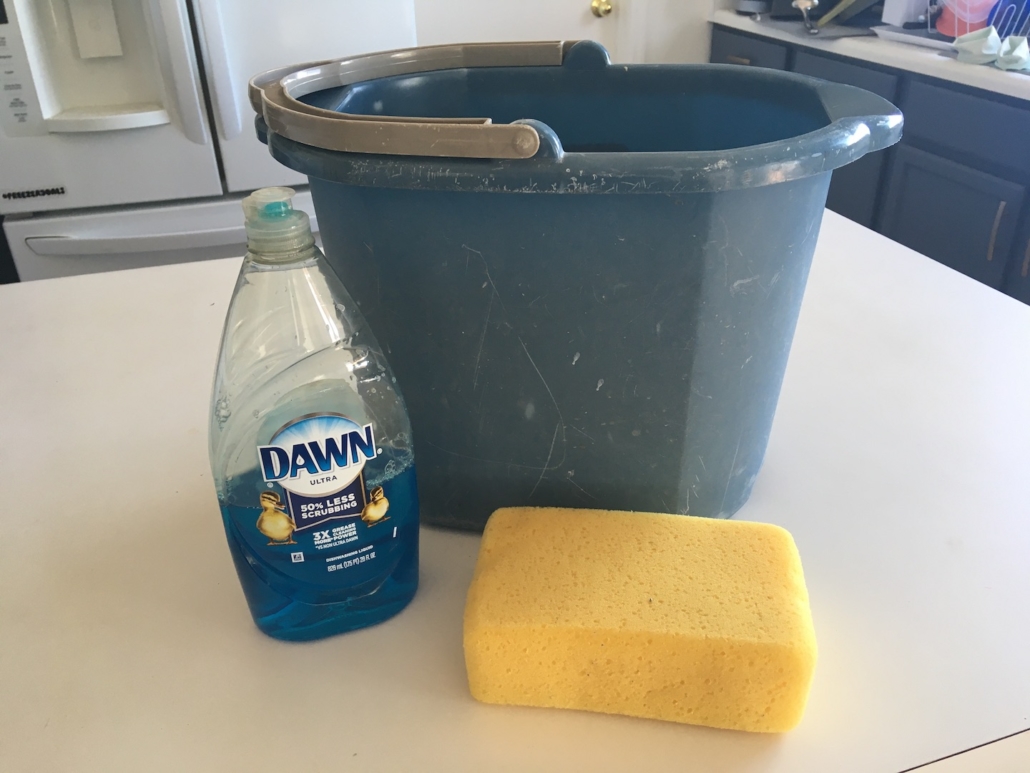
1. The first step is to clean your cabinets really well. While there are cabinet cleaning products, I am not a big chemical fan so I opted for soap and water and it worked great. This sponge is amazing! And some blue Dawn soap.
I’m not sure how often you clean the top of your cabinets but that’s not something I do on the regular. Honestly, it’s not even something I think to clean. Out of sight out of mind, I guess? Boy was I surprised when I realized how much grease and dust is up there and how hard it is to clean. If you find yourself in the same situation, this post is helpful. I used vinegar, baking soda and a credit card to get the majority of the gunk off and then followed up with blue Dawn and a sponge.
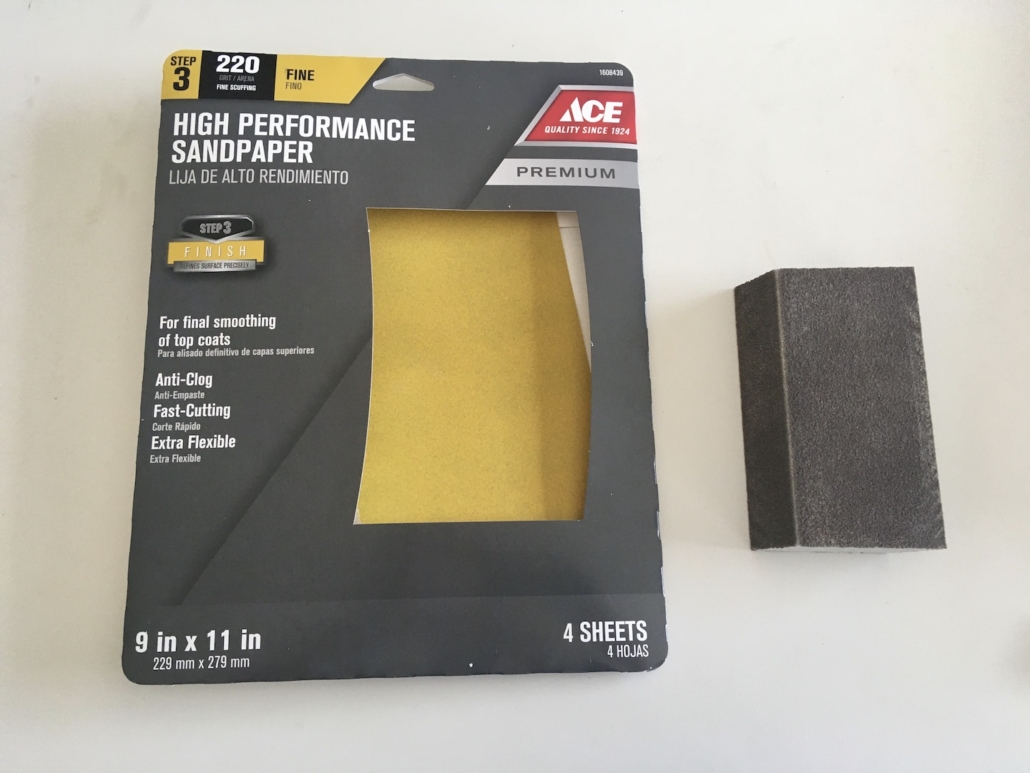
2. Once the cabinets are clean and dry you want to lightly sand them. We used 220 grit sandpaper per the recommendation of a cabinet guy refinishing a friends’ cabinets. I also bought a foam sanding block thing to make the corners easy. I honestly don’t know what a “light” sanding means and have no idea if we sanded enough. Basically, we roughed up the surface but did not take off the first layer. Make sure you sand in the direction of the wood grain, that I do know! After sanding I wiped the cabinet down again to get rid of the dust. (Be sure to wear a mask while sanding.)
3. The next step is to primer the cabinets. As with most of the steps in the kitchen remodel process, there are 1,000 options and everyone has their own opinion of what’s best. I struggled with analysis paralysis every step of the way on this project. Ultimately, I decided to use Benjamin Moore STIX Waterborne Bonding Primer which we purchased at Ace Hardware. Our cabinet boxes have laminate on the ends and supposedly you should use a bonding primer. That’s what the internet told me. Don’t worry about the primer looking perfect. The cabinet paint will cover any imperfections.

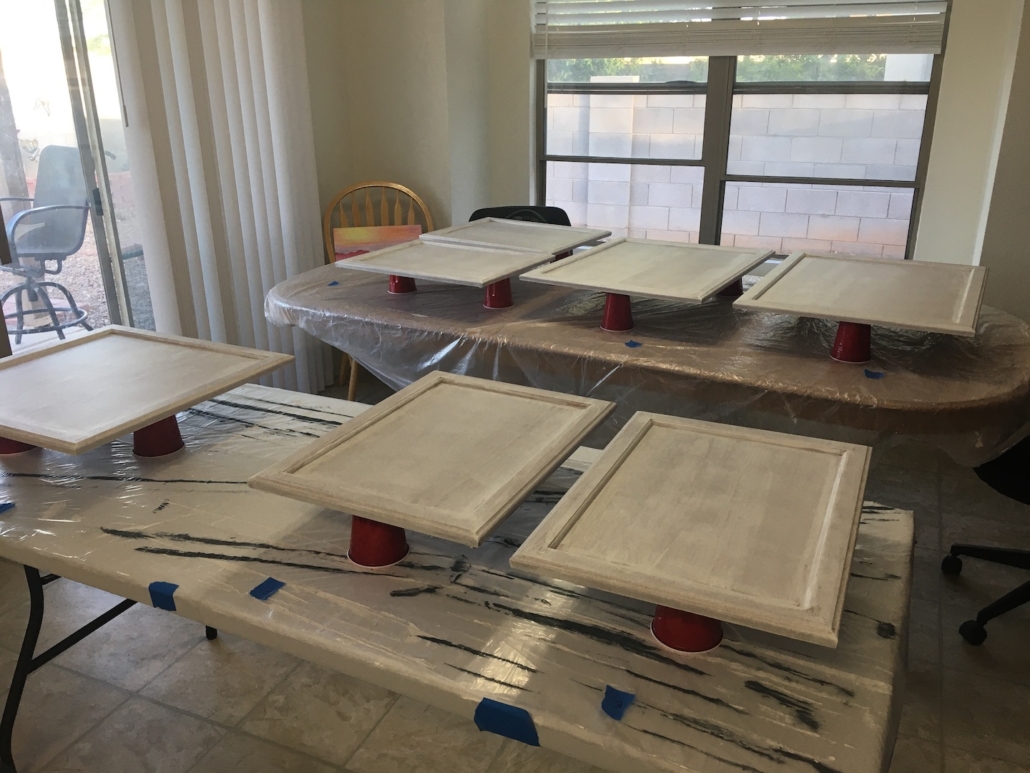
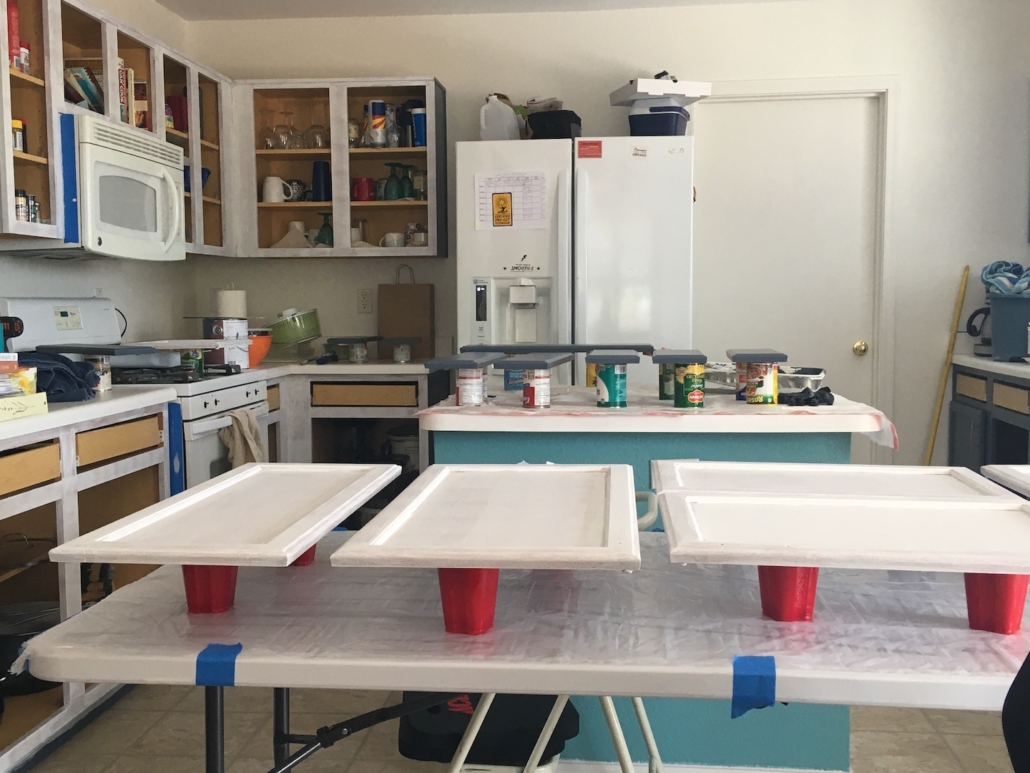
The most annoying part of painting cabinets is painting the doors. We took ours off so I didn’t have to paint around the hinges but it took twice as long you have to wait for the side to dry before flipping it over. I thought I would be able to fit all the doors on these two tables at once. Nope! Turns out they’re much bigger than I realized so I had to do them in batches.
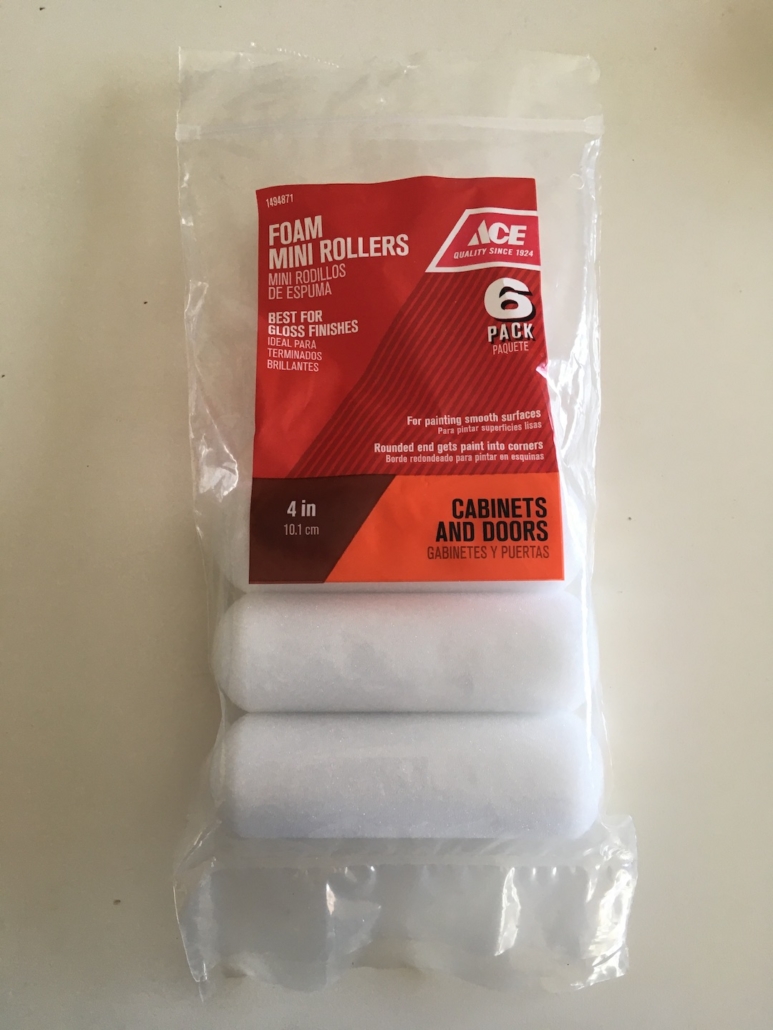
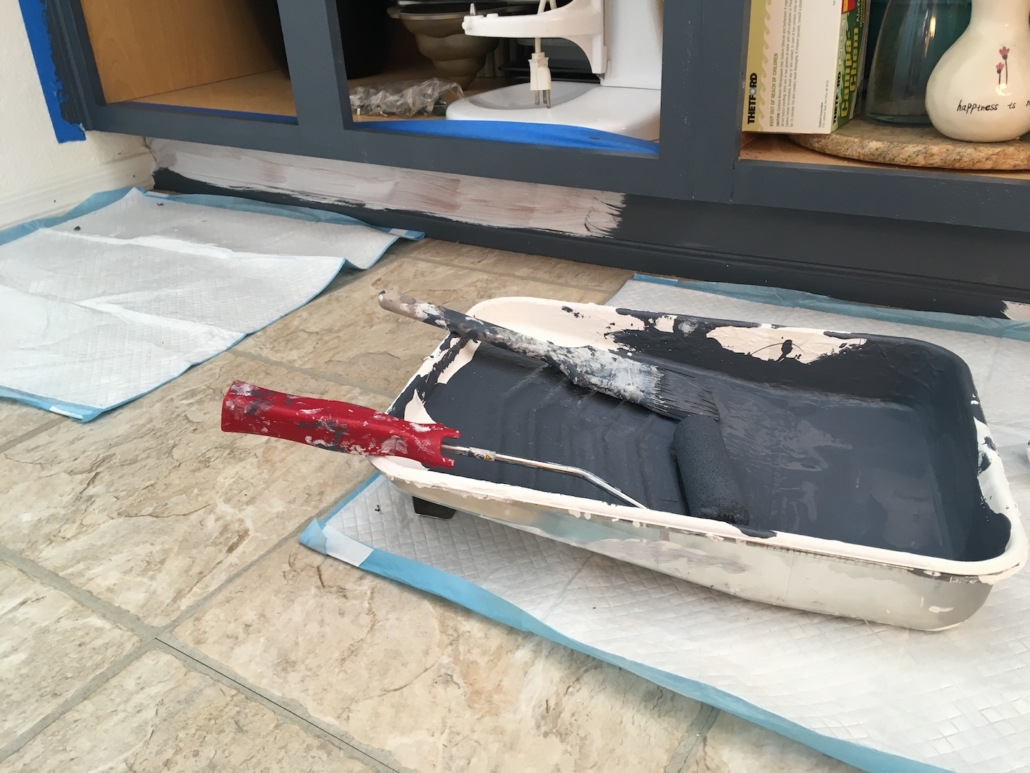
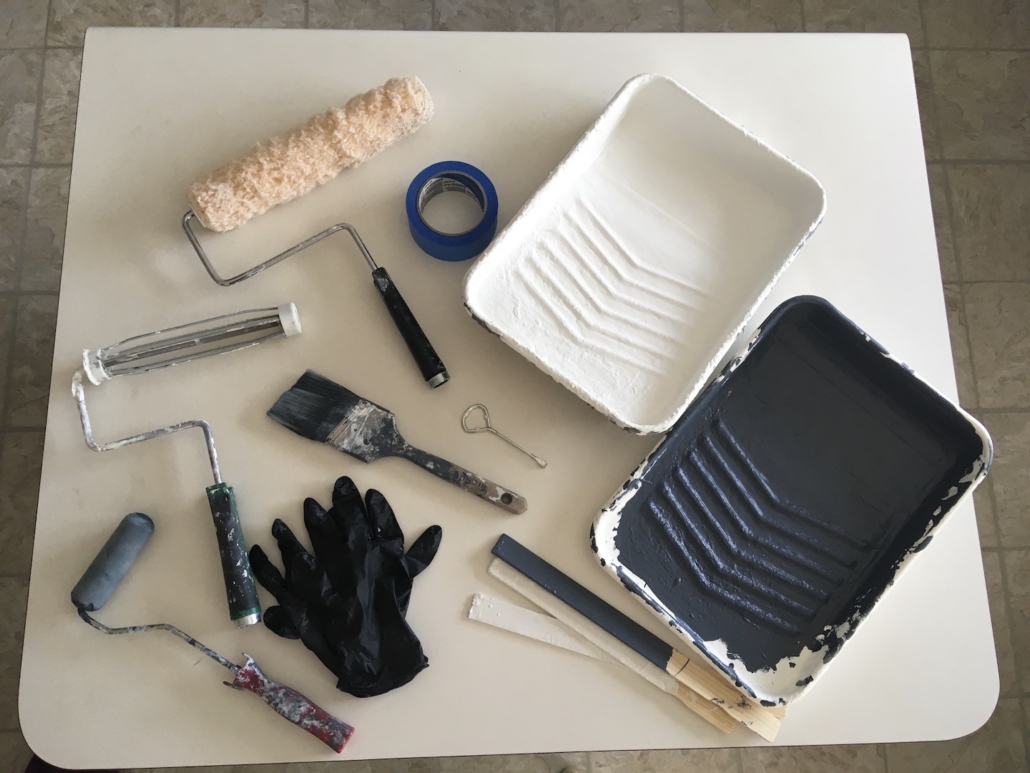
We used a brush for the inside corner edges and a small mini foam roller for everything else.
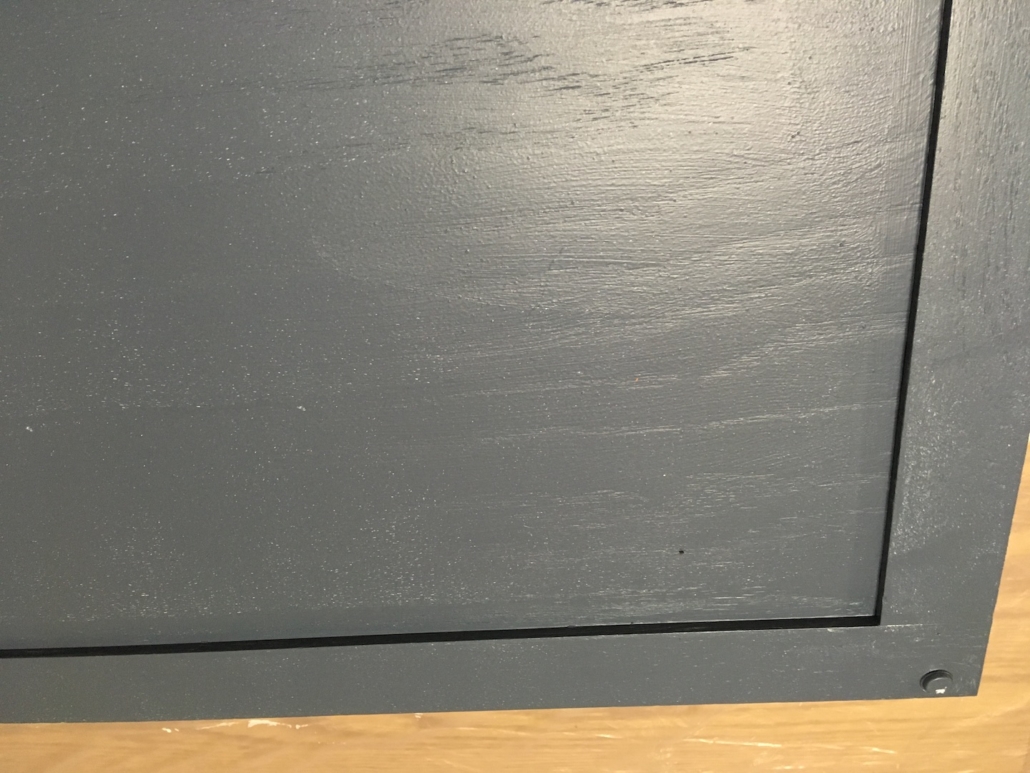
4. Once the primer is dry it’s time for the first layer of color. This is such an exciting step because you get to see the kitchen start to come together. For the cabinet color we went with Benjamin Moore Evening Dove. We used their Regal Select paint in a pearl finish.
The first coat doesn’t look that great but that was fixed with the second. Once the first coat is dry add the second. I noticed small bubbles on some of my doors. The paint is self leveling and most of them go away as the paint settles or whatever it does as time goes on. Don’t worry too much about what it looks like initially. It gets better as it dries.
5. The most exiting part of the project is putting the kitchen back to together! Our cabinets didn’t have hardware so we added it (click here to read about how to add hardware) and put the doors back on.
Tips for Painting Cabinets
We opted to hand paint the cabinets versus using a paint sprayer. Being that we live in AZ and completed this project in June, painting cabinet doors in the garage was out of the question. If we were to do this again, and it wasn’t a quarantine project, I might try the paint sprayer route in the garage not in the summer. Here’s what we learned.
- Buy a box of disposable gloves. Painting cabinets requires so much work – cleaning, sanding, priming, two coats of paint, cleaning brushes and rollers. Your hands will thank you. I reused the gloves as many time as I could but did use quite a few pairs over the course of the project.
- If you are adding hardware, drill the holes before painting. Fortunately we caught this mistake before getting too far into the project but did have to touch up a few doors.
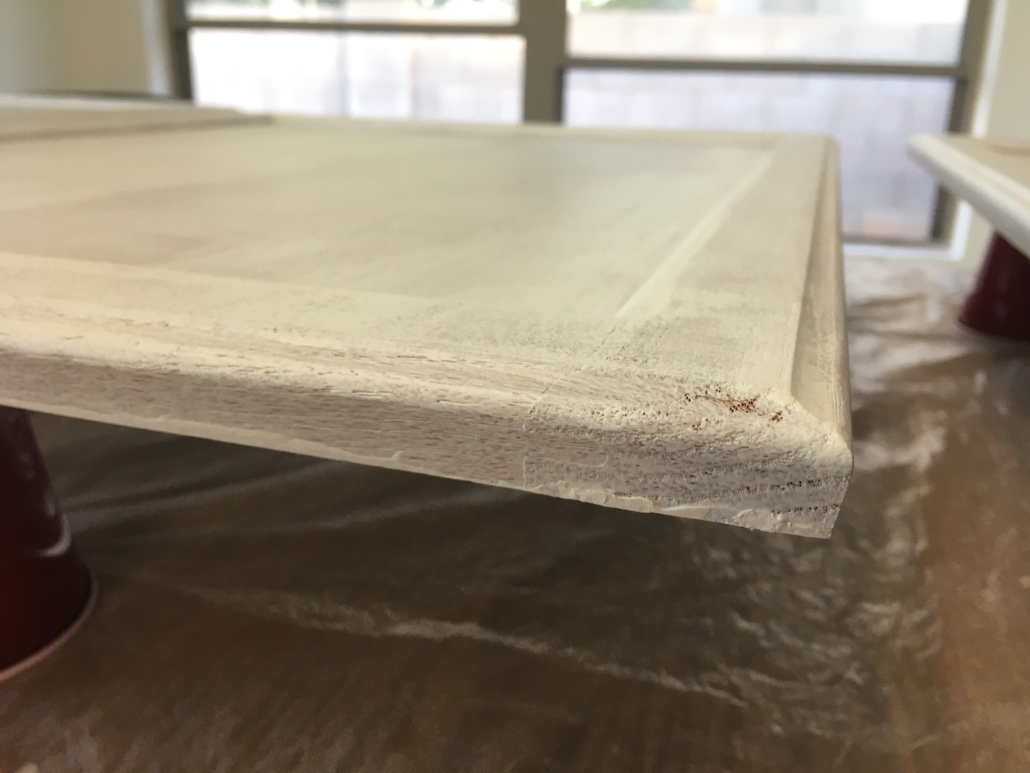
- If you take your doors off to paint, you need to rest them on something. I didn’t do this at first and quickly learned why. Any excess paint pools at the point where the door touches the table and drys that way. Fortunately, we learned this on the primer coat and were able to sand it down and move on.
- Cans do a better job of holding up doors than plastic cups.
- Cans are solid and didn’t fall over if the table was bumped.
- While the plastic cups got the job done, they were very unstable and kept sticking to the doors. (I realize the cups are upside down which increases the instability. This is because there is a small depression on the small end of the cup that was leaving a circle in the paint. The larger opening wasn’t doing that so I had to use them upside down.)
- Since this project happened in bursts (before and after work), I had to do a lot of brush and roller cleaning. I used an old dish drainer for drying and storage of the brushes and rollers. It kept my mess mostly contained so I had a somewhat functional kitchen for cooking. **Update: I have since learned that you can cover wet paint rollers/brushes in plastic and store them in the fridge. I have used this trick several times and the paint stays wet for days.
- Puppy pads make for a great moveable floor cover. We also recently adopted a puppy and had some on hand so there’s that.
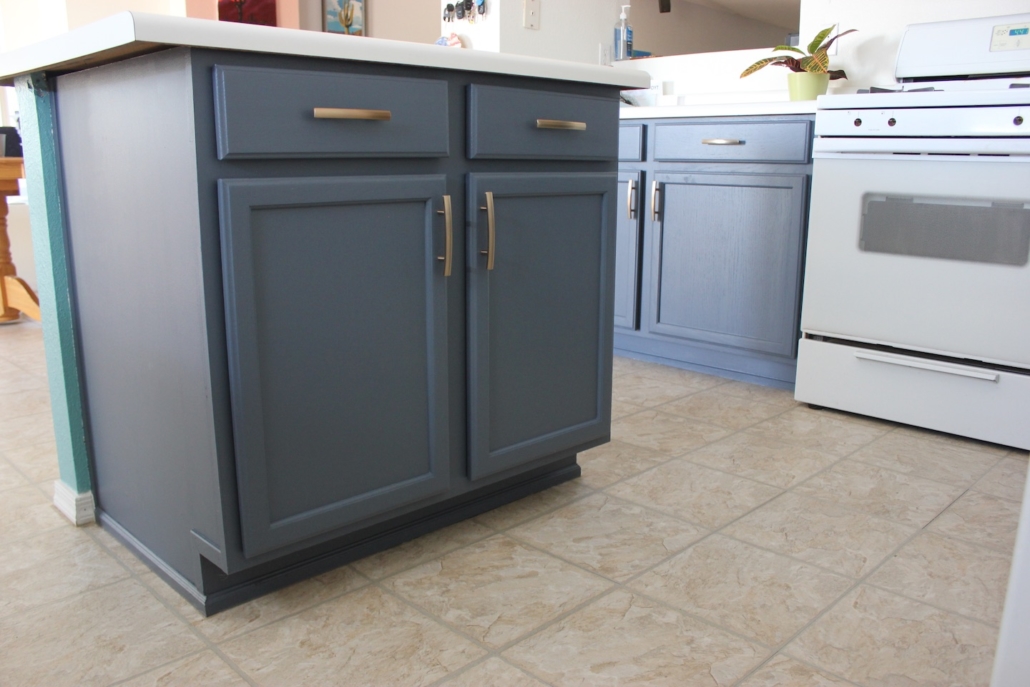
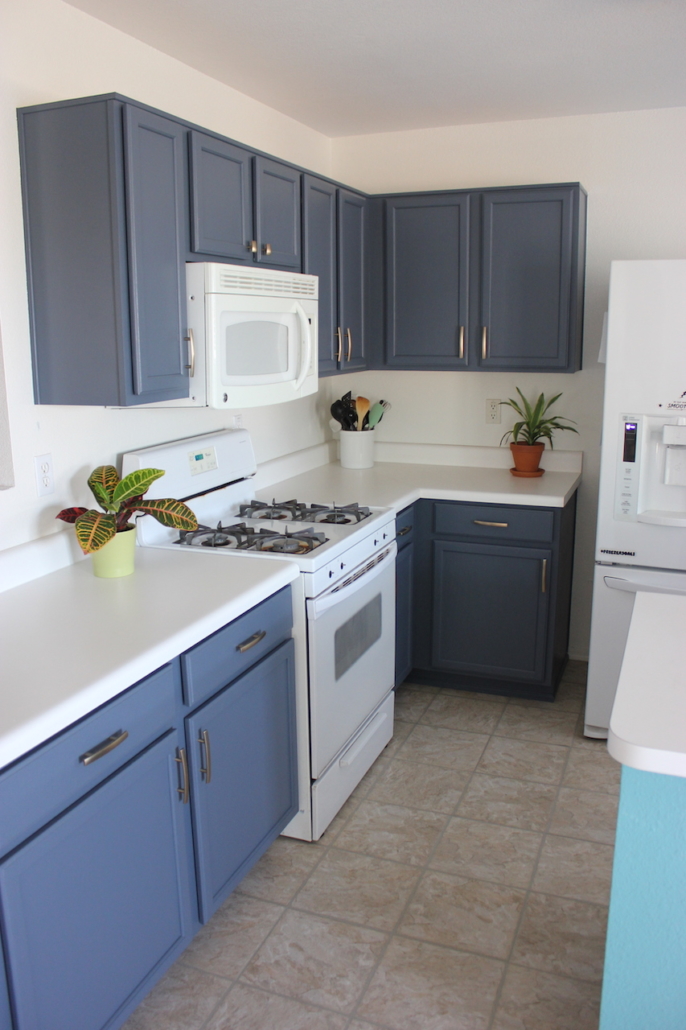
Before & After
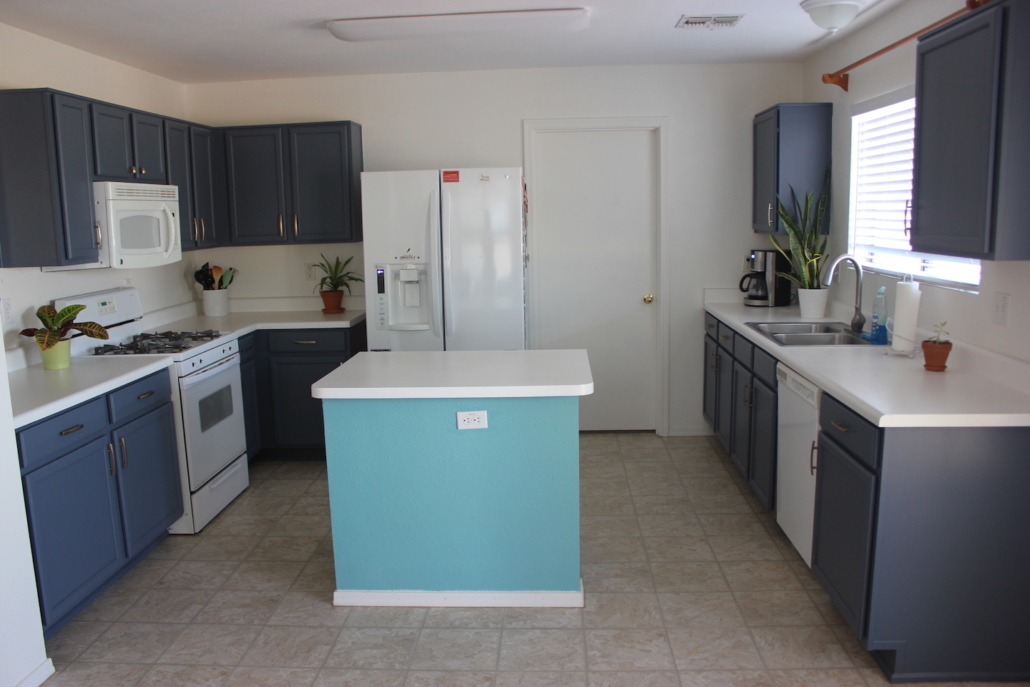
We are so happy with the result! The kitchen is so much brighter and it’s no longer an eye sore. We were/are planning to add a backsplash but are taking a break for now. We were naive to think we could get this far, and add backslash, within a week. We’re not sure the accent wall will stay that color but once I find curtains, a backsplash or wall art I will finalize the color.
Budget
Painting kitchen cabinets is actually a really inexpensive way to update your kitchen. All you need is sand paper, primer, paint, paint brushes, time and patience. We spent $150 total on paint and supplies (this does not include cabinet hardware). We purchased one gallon of primer (and have a ton left) and one gallon of cabinet paint (and used almost all of it).
If you have questions on painting cabinets or want to share your experience feel free to do so!


Love it!
Thanks!
Oh my goodness, it looks fabulous!!! Great color choices!
Thank you!